In this lesson, we will learn real-time image transmission based on flask camera.
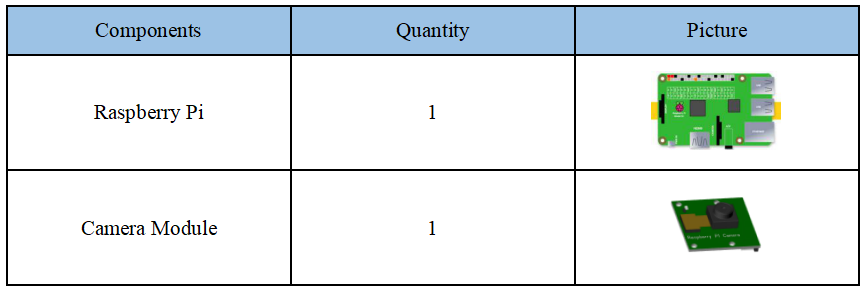
11.1 Components used in this course
11.2 Introduction of Camera Module
Camera (CAMERA or WEBCAM) is a video input device, which is widely used in video conferencing, telemedicine and real-time monitoring. The camera (webcam) generally has basic functions such as video camera/transmission and static image capture. After the image is captured by the lens, the image is processed by the photosensitive component circuit and control component in the camera and converted into a digital number that the computer can recognize.Then input to the computer via the parallel port or USB connection and then restore the image by the software. We provide a 5 million pixel camera module, which uses manual focus, and the operating voltage range is 1.7V~3.3V.
There are many ways to transmit the images captured by the Raspberry Pi camera to other devices by the network. In the Alter robot product, we use the open source project [flask-video-streaming] from the MIT open source protocol on Github.You can view the source code of the project via this web link: https://github.com/miguelgrinberg/flask-video-streaming. Why did we choose to use flask-video-streaming? It is because the flask-video-streaming solution is the most convenient, stable and most efficient among many solutions we have practiced,and the part of OpenCV it involves also has a good interface that can be rewritten into multi-threaded processing.
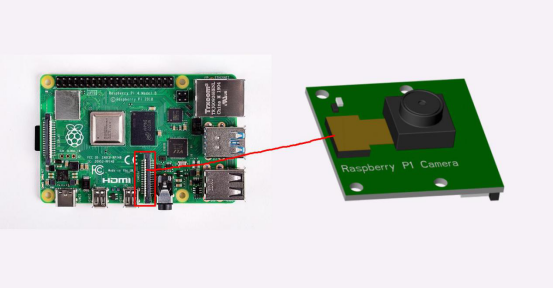
11.3 Wiring diagram (Circuit diagram)
11.4 Turn on the real-time image function of the camera
11.4.1Run the program of this course
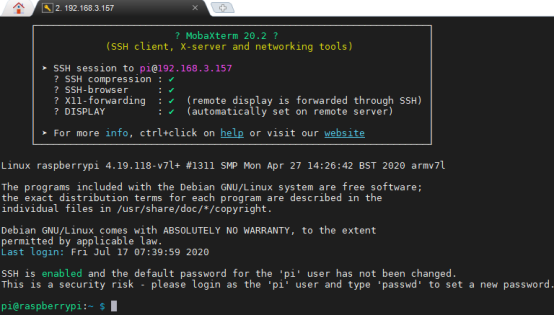
1. Open the terminal software MobaXterm:

2. Log in to your Raspberry Pi (the way to log in to Raspberry Pi has been introduced in Lesson 1):
3. Enter the Course Code folder, this folder stores the sample code program to control the robot, enter the following command:
cd adeept_alter/02CourseCode/01ComponentCode

4. Enter the command to display the contents of the current directory:
ls

5. The 10flask_streaming folder stores the sample code of this course. Enter the command to enter this folder:
cd 10flask_streaming

6. Enter the command to display the contents of the current directory:
ls

7. Since this project needs to use Flask and related dependent libraries, you need to enter the following command to download:
sudo pip3 install flask

sudo pip3 install flask_cors

8. After the download is successful, you need to run the app.py program and enter the following command (you can ignore the red warning that appears):
sudo python3 app.py

9. Open the browser on the device (computer, tablet, mobile phone, etc.) in the same LAN as the Raspberry Pi (we recommend using Google Chrome), and enter the IP address and video stream port number of the Raspberry Pi in the address bar: 5000 , As shown in the following example:

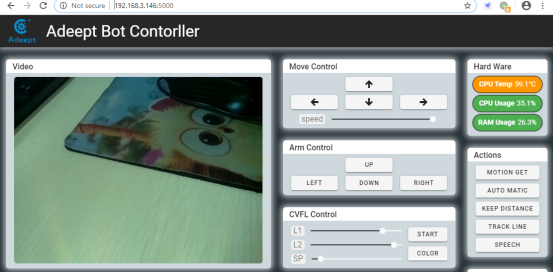
10. You can see the video surveillance page on the browser of your computer or mobile phone, as shown below: