In this lesson, we will learn how to play animation on the OLED screen.
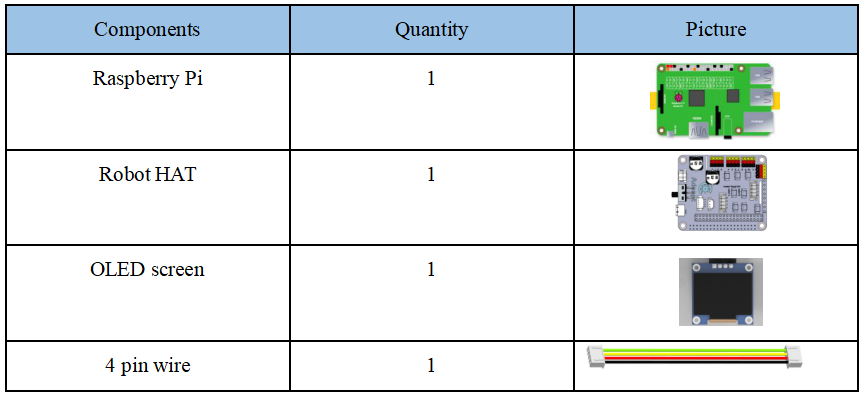
9.1 Components used in this course
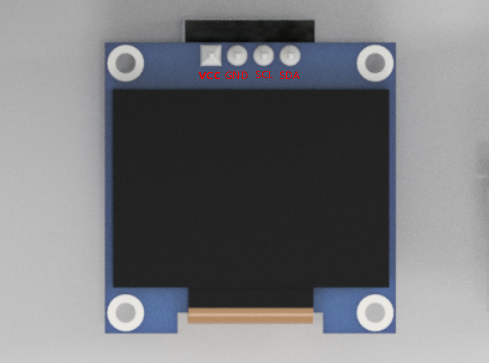
9.2 Introduction of OLED Screen
OLED (Organic Light-Emitting Diode), also known as organic electric laser display, organic light emitting semiconductor (Organic Electroluminesence Display, OLED). OLED is a kind of current-type organic light-emitting device, which produces light by the injection and recombination of carriers, and the luminous intensity is proportional to the injected current. The Alter robot uses an OLED screen to display the expressions or some parameters of the robot. OLED Screen is a commonly used module on robot products. Due to the black non-luminous feature of OLED Screen, this type of screen has extremely high contrast. Even if the ambient light is strong, you can see the information on the OLED Screen clearly, and the power consumption is relatively low. We only need to connect the power supply and the GPIO port to control it.
If you want to use OLED Screen, you need to use a 4-pin cable with anti-reverse interface to connect the OLED screen to the IIC interface on the Robot HAT.
If you do not use Robot HAT driver board to connect with Raspberry Pi driver board, then you need to connect Vin of OLED screen to 5V or 3.3V of Raspberry Pi, and connect GND of OLED screen to GND of Raspberry Pi. Connect SCL of Robot HAT to SCL of OLED, and SCA of Robot HAT to SCA of Raspberry Pi. Please refer to the pin definition diagram of Raspberry Pi for specific pins.
9.3 How to play animation on OLED screen
9.3.1 How to play animation on OLED screen
1. First use Python to generate a PPM sequence string.
2. Then play the PPM sequence string.
9.3.2 PPM format file generation
1. The OLED screen can display images, and the image format needs to be PPM format.
2. The principle of animation is to play multiple images per second.
3. First, draw a few pictures in jpg format (the ones you want to display) in the PC and put them in the same folder (jpg). Note that these pictures need a pure black background.
4. Then create a new folder named ppm.
5. Finally, create a new ppmGenout.py outside the folder, this program is responsible for generating PPM sequence strings.
6. It is also necessary to create another oledPlay.py, which is responsible for playing the PPM sequence string that has been generated.
7. This program can be executed on Raspberry Pi or other computers, and Python3 and pillow library need to be installed.
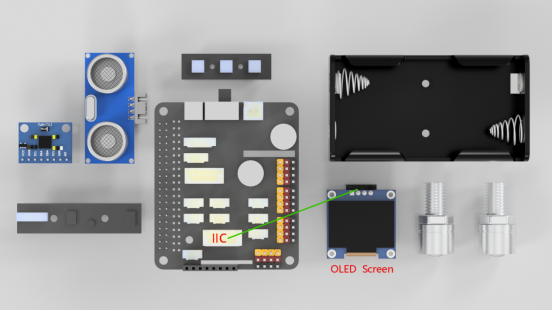
9.4 Wiring diagram (Circuit diagram)
When the OLED Screen module is in use, it needs to be connected to the IIC interface on the Robot HAT driver board, as shown below:
9.5 How to play animation on OLED screen
9.5.1Run the program of this course
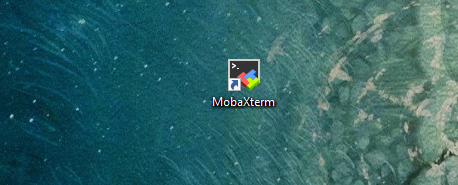
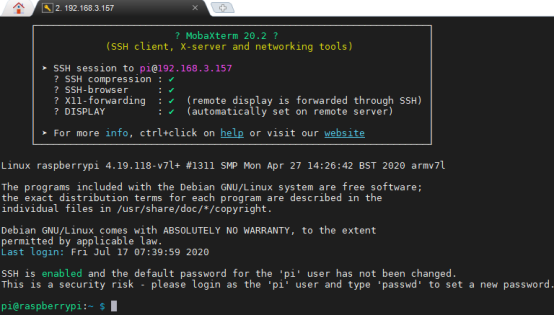
1. Open the terminal software MobaXterm:
2. Log in to your Raspberry Pi (the way to log in to Raspberry Pi has been introduced in Lesson 1):
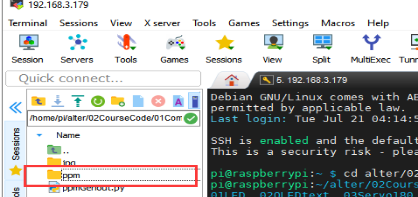
3. Enter the Course Code folder, this folder stores the sample code program to control the robot, enter the following command:
cd adeept_alter/02CourseCode/01ComponentCode

4. Enter the command to display the contents of the current directory:
ls

5. The 08OLED_Cartoon folder stores the sample code of this course. Enter the command to enter this folder:
cd 08OLED_Cartoon

6. Enter the command to display the contents of the current directory:
ls

7. It can be found that there are four files.These are the reference cases we provide.If you want to realize your own creativity, you can also imitate this method. The "jpg" folder is to store pictures in jpg format that have been drawn (if you want to play other pictures, then you can put the pictures in this folder). Note that these pictures need a pure black background; "ppm" is a folder that needs to be established, named ppm, and the inside is empty; "ppmGenout.py" is a python program that generates PPM sequence strings from pictures in jpg format. After running it, a sequence string in ppm format will be generated in the "ppm" folder. "OledPlay.py" is a code program for playing PPM sequence strings.
9.5.1.1 First generate PPM sequence string
1. Before running the program, you need to install the pillow library. Enter the following command:
pip install pillow

2. Run ppmGenout.py to directly generate the PPM sequence string. Enter the following command to run the ppmGenout.py program on the Raspberry Pi:
sudo python3 ppmGenout.py

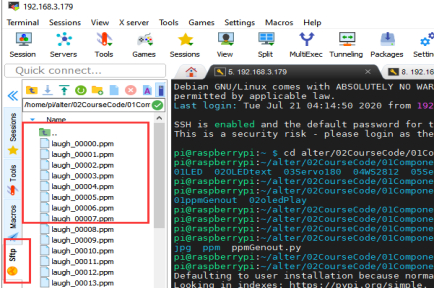
3. Then in the file explorer on the left side of MobaXterm, open the folder "ppm" of this lesson in the directory:
alter/02CourseCode/01ComponentCode/08OLED_Cartoon/01ppmGenout
This folder was empty before. After you successfully run ppmGenout.py, many ppm sequence strings will be generated inside, as shown below:
9.5.1.2 Play the generated PPM sequence string
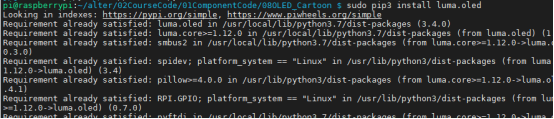
1. When using the OLED Screen module, we need to install the Python dependency library required to control the OLED screen, called the luma.oled library, and enter the following commands in the console of the command window:
sudo pip3 install luma.oled
2. After successfully generating the PPM sequence string, you need to run the oledPlay.py program again, so that the animation will be displayed on the OLED screen:
sudo python3 oledPlay.py

3. After running the program successfully, you will observe that an animation will be played on the OLED screen.
4. When you want to terminate the running program, you can press the shortcut key Ctrl+C on the keyboard.
9.5.2 The main code program of this lesson
After the above hands-on practice, you already know how to use and run our course sample code program. You must be curious about how our code program is programmed to play animation on OLED screen on the Raspberry Pi. Let’s get to know the main code program.We use Sublime IDE to view and edit the code program of this lesson. Please refer to the content of lesson 2 for specific methods.
9.5.2.1. Let's first learn the program ppmGenout.py that generates PPM sequence strings
First import the location of jpg and ppm images

Get the file names of all jpg images in the jpg folder.

Convert the pictures in the "jpg" folder one by one. First open a jpg image.

Delete the suffix .jpg from the original name, and re-modify it to the suffix .ppm, so that it becomes a file of ppm sequence.

9.5.2.1. Learn to play the program of PPM sequence string oledPlay.py
Import OLED screen related libraries.

Import the library for image processing.

Obtain the absolute path of this file.

Initialize the OLED screen.

Set the playback frame rate.

Calculate the delay time per frame according to the playback frame rate.

Clear the screen.

All images will be stored in this array.

tell the program where you put the ppm sequence

Get the names of all frames in this folder.

Sort these files by name.

Import these frames, then open the file in PPM format and binarize it with convert('1'); store the converted image into LaughImage.

Displaying images frame by frame is equivalent to playing a cartoon.
