In this lesson, we will learn how to use the Tracking module of Classic Car and Racing Car.
25.1 Tracking Module
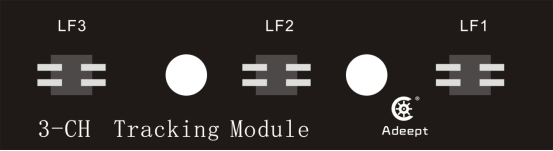
Classic Car and Racing Car are driving on the white paper "road" with black lines. Because the black line and white paper have different reflection coefficients of light, the "road" can be judged according to the intensity of the received reflected light-black line . In the Tracking module, a more common detection method-infrared detection method is used.
Infrared detection method uses infrared rays to have different reflection properties on different colored physical surfaces. When the car is running, the infrared light is continuously emitted to the ground. When the infrared light meets the white ground, the diffuse emission occurs, and the reflected light is received by the receiving tube installed on the car;if it encounters a black line, the infrared light is absorbed, and the receiving tube on the car cannot receive the signal.
25.2 Preparation
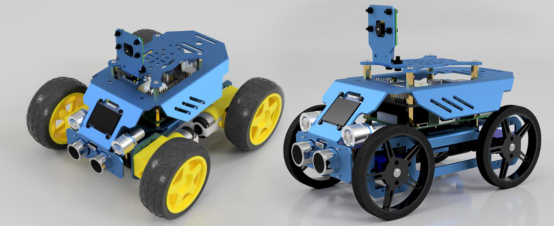
1. Assembled Classic Car and Racing Car
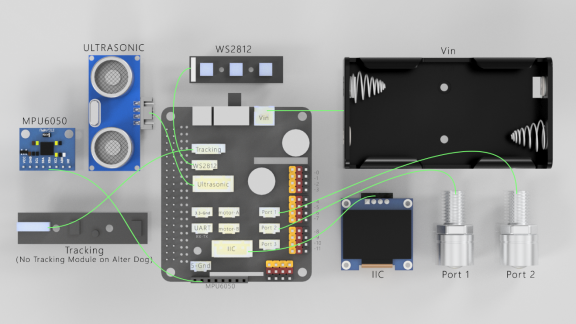
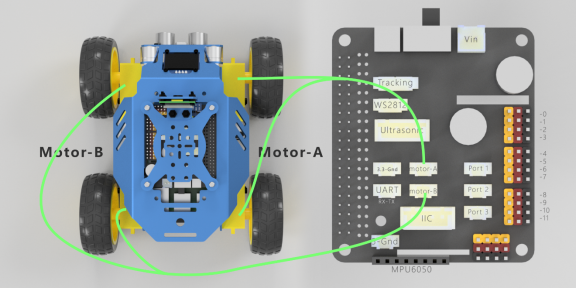
2. Connect the components.
Classic Car:

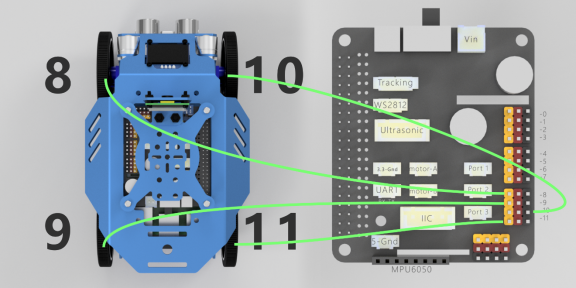
Racing Car:
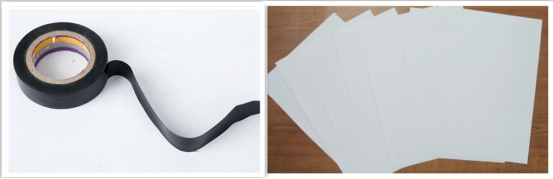
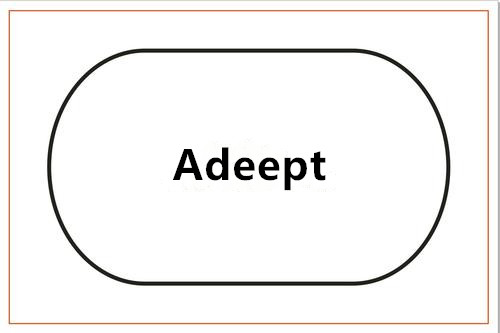
3. Make a patrol track.
25.3 Turn on the tracking function
25.3.1 Run the program of this course
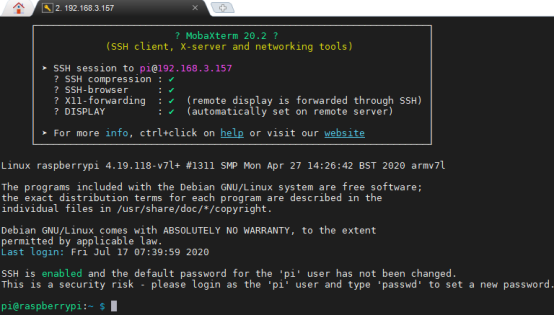
1. Open the terminal software MobaXterm:

2. Log in to your Raspberry Pi (the way to log in to Raspberry Pi has been introduced in Lesson 1):
3. Enter the Course Code folder, this folder stores the sample code program to control the robot, enter the following command:
cd adeept_alter/server

4. Enter the command to display the contents of the current directory:
ls

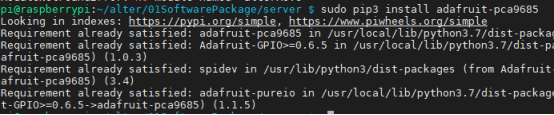
5. When using the 360°Servo module, we need to install the Python dependency library needed to control 360°Servo: Adafruit_PCA9685, enter the following command in the console of the command window:
sudo pip3 install adafruit-pca9685
6.trackline.py is a python program, when running this program, it is associated with several libraries, so you need to ensure that oledCtrl.py, Kalman_filter.py, move.py, alterMove.py are existed in the server directory at the same time . You can run this program on the Raspberry Pi by directly typing the following commands:
sudo python3 trackline.py

7. After running the program successfully, you will observe that the robot starts the tracking function mode.
8. When you want to terminate the running program, you can press the shortcut key Ctrl+C on the keyboard.
25.3.2 Learning the code program of this lesson
After the above hands-on practice, you already know how to use and run our course sample code program, then you must be curious about how our code program is programmed to achieve the tracking function on the Raspberry Pi. Let’s learn about our main code program together. Here we use Subline IDE to view and edit the code program of this lesson, please see the content of lesson 2 for specific methods.
Import and instantiate the object used to control Alter.

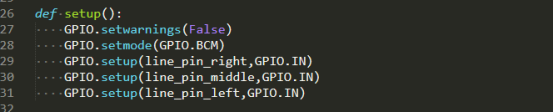
Set the GPIO pin number of the three-way tracking module.

Set the speed during line tracking.

Initialize GPIO.
Obtain the values of the three sensors of the tracking module.

Turn off the three lights of ws2812.

According to the sensor value of the tracking module, we determine which light of WS2812 is on. If the light needs to be kept off, we let the fourth light be on (Alter does not have a fourth light, so it is off). Use the status of the light to observe whether the robot can detect the line correctly. If the line cannot be detected correctly, you need to use a screwdriver to adjust the potentiometer on the tracking module.
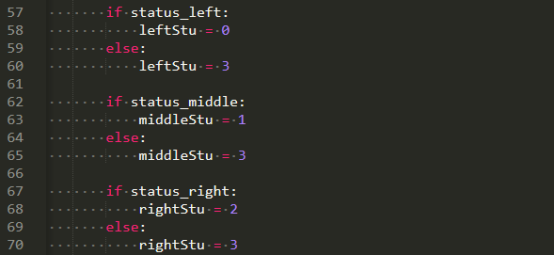
Turn on the corresponding light according to the sensor value of the tracking module. If the left and right are reversed, we switch the positions of leftStu and rightStu.

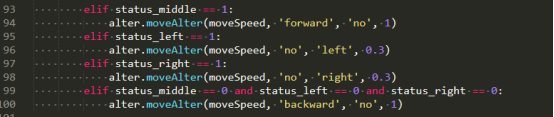
If the three sensors of the tracking module detect the black line for a period of time or the robot is picked up for a period of time, it stops moving.

Turn left with the line on the left, turn right with the line on the right, go backward with no line on the white background, and move forward with the line in the middle.