In this lesson, we will use multithreading to display text and other information on the OLED screen.
28.1 Introduction of OLED screen
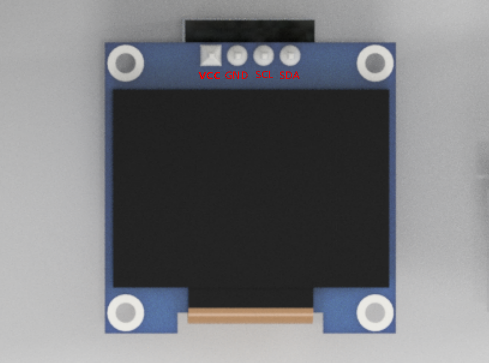
OLED (Organic Light-Emitting Diode), also known as organic electric laser display, organic light emitting semiconductor (Organic Electroluminesence Display, OLED). OLED is a kind of current-type organic light-emitting device, which produces light by the injection and recombination of carriers, and the luminous intensity is proportional to the injected current. The Alter robot uses an OLED screen to display the expressions or some parameters of the robot. OLED Screen is a commonly used module on robot products. Due to the black non-luminous feature of OLED Screen, this type of screen has extremely high contrast. Even if the ambient light is strong, you can see the information on the OLED Screen clearly, and the power consumption is relatively low. We only need to connect the power supply and the GPIO port to control it.
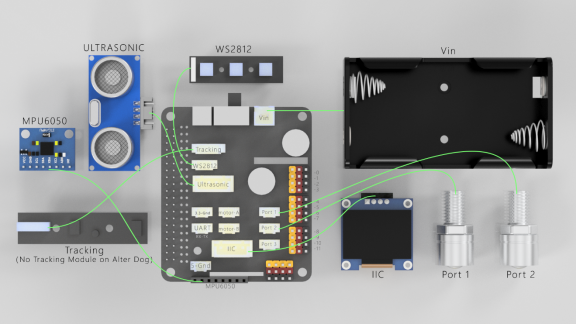
If you want to use OLED Screen, you need to use a 4-pin cable with anti-reverse interface to connect the OLED screen to the IIC interface on the Robot HAT.
If you do not use Robot HAT driver board to connect with Raspberry Pi driver board, then you need to connect Vin of OLED screen to 5V or 3.3V of Raspberry Pi, and connect GND of OLED screen to GND of Raspberry Pi. Connect SCL of Robot HAT to SCL of OLED, and SCA of Robot HAT to SCA of Raspberry Pi. Please refer to the pin definition diagram of Raspberry Pi for specific pins.
28.2 Preparation
You need to prepare a robot in the Alter that has been assembled, and make sure that the robot has been connected to the OLED Screen module.
28.3 Use multithreading to display text on OLED Screen
28.3.1 Learning the code program of this lesson
We use multithreading to display text on the OLED Screen. We use Subline IDE to view and edit the code program of this lesson, please refer to the content of lesson 2 for specific methods.The specific code and comments are as follows:
In the file manager of the MobaXterm terminal, find the directory:
adeept_alter/server
And open the code of this lesson: OLED.py.
Import related dependent libraries.

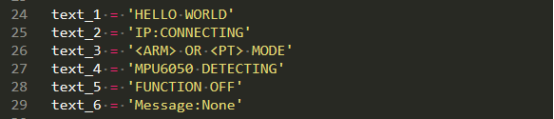
Set to display the initial content of each line on the OLED.
ID used to pause the thread.

Set to True.

ID used to stop the thread.

Set running to True.

Return immediately when it is True, block when it is False, and return when the internal flag is True.

Set to False to block the thread.

Set to True to stop blocking with thread.

Resume the thread from the suspended state, if it has been suspended.

Set to False.

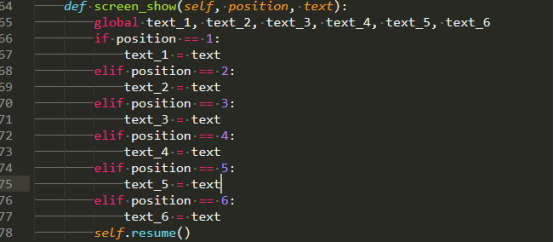
Call this function to control the OLED screen. Position is the number of the line where you want to change the content, can be 1-6, text is the content.
Instantiate the OLED screen object.

Start the thread.

Set the content of the first line to 12345678.

Since the above operation will not block the thread, we need to loop here to avoid the program exit after the execution is complete.

28.3.2 Run the program of this course
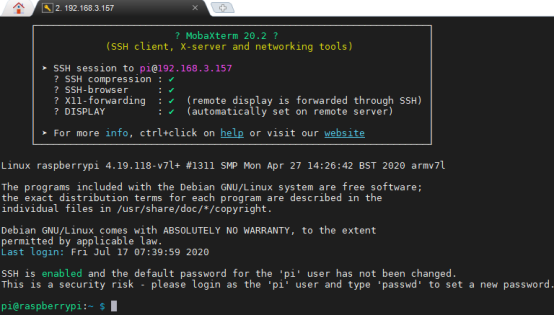
1. Open the terminal software MobaXterm:

2. Log in to your Raspberry Pi (the way to log in to Raspberry Pi has been introduced in Lesson 1):
3. Enter the Course Code folder, this folder stores the sample code program to control the robot, enter the following command:
cd adeept_alter/server

4. Enter the command to display the contents of the current directory:
ls

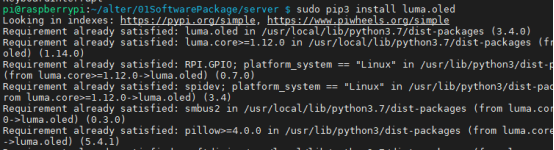
5. When using the OLED Screen module, we need to install the Python dependency library needed to control the OLED screen, called the luma.oled library, and enter the following commands in the console of the command window:
sudo pip3 install luma.oled
6.OLED.py is the sample code of this lesson, enter the command to run this program:
sudo python3 OLED.py

7.After successfully running the program, you will see some text messages on the OLED screen of the robot.