In this lesson, we will learn another form of the RaspArm-S robotic arm, which is to replace the clip of the robotic arm with a writing pen. With this new structure, you can use it for some creations, such as drawing. The specific assembly steps are in "10.3 RaspArm-S Writing Pen Robotic Arm Assembly Tutorial" in Lesson 10.
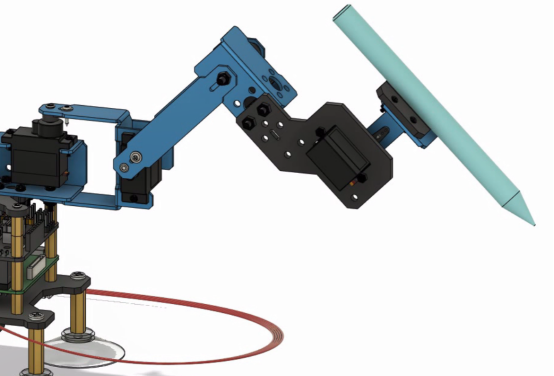
The assembled structure of RaspArm-S in writing pen form is as follows:
14.1 Modifying raspArmS.py to pen mode
You need to modify the raspArmS.py program when using the pen shape structure.
1. Open the terminal software MobaXterm:

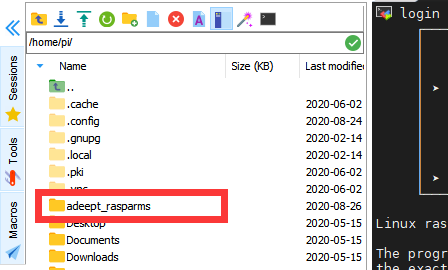
2. Log in to your Raspberry Pi (the way to log in to the Raspberry Pi has been introduced in Lesson 1), in the file explorer on the left, go to the directory of adeept_rasparms/server:
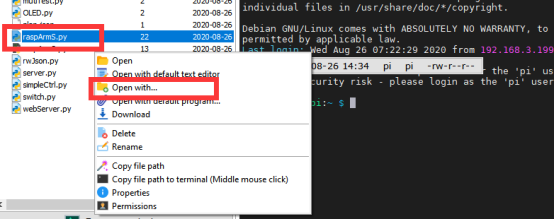
3. Select the program raspArmS.py, right-click the mouse, and use the third-party tool Subline IDE to view and edit the code program. For the specific method, please see the content of Lesson 2: "2.4 Editing the code program in the Raspberry Pi".
4. Find line 257, modify gripper to pen, and save the modified file. This completes the setting.

14.2 How to control a robotic arm in the form of a writing pen
Most of the functions related to robotic arm control are encapsulated in raspArmS.py, which is an open API. First, you need to create a new .py file in the same folder as raspArmS.py, then you can write code programs to realize your own creativity in this newly created .py folder. The usage instructions of the API function raspArmS.py are explained in detail in Lesson 15.
If you just want to simply experience the functions of this form, you can also operate it by opening the GUI application. You can refer to Lesson 11.