Adjust the initial position of the chassis servo
If your Picar pro product is successfully assembled and the initial direction of the front wheel is not straight ahead when you start the car. Please read the following.
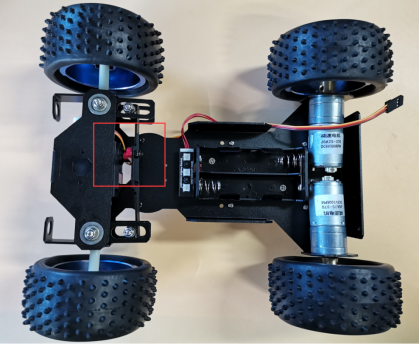
Since the initial angle of some chassis servos has not been adjusted to the middle position recently, after the trolley is connected to the power source, the initial direction of the front wheels of the chassis is not straight forward, so the initial position of the servos needs to be adjusted. The picture is the picture before assembly. If you have successfully assembled the car, the operation steps are the same.
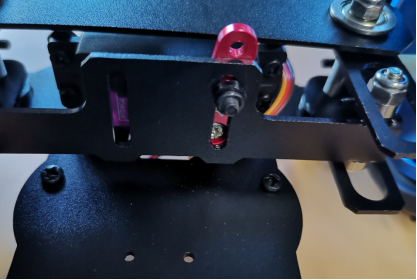
1. Use an Allen screwdriver and a Phillips screwdriver to remove the screws with locknuts.
2. Use a Phillips screwdriver to remove the screws between the rocker arm and the servo. Then take out the rocker arm.
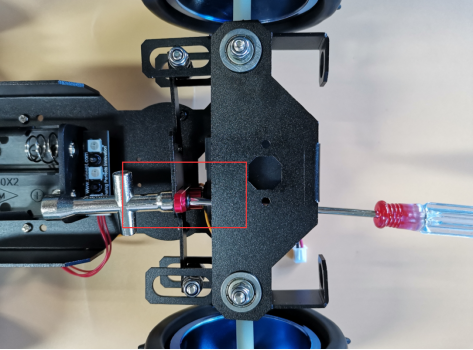
3. Adjust the initial position of the servo to the middle position. Connect the chassis servo to the servo interface of Robot HAT, then power on the Raspberry Pi and run the program webServer.py (please refer to the tutorial document for the steps to run the program). At this time, the initial angle of the servo rotates to the middle position. If you have successfully assembled the robot and successfully configured the software program, you only need to connect the Robot HAT to the power supply and the chassis rudder will rotate to the middle position.

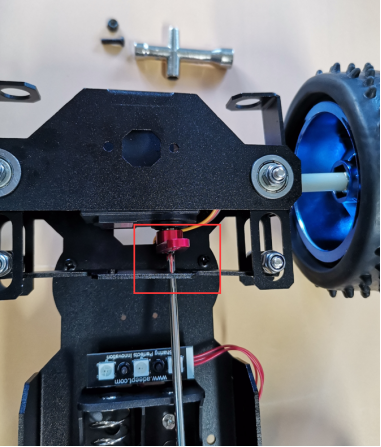
4. To facilitate installation, first put the servo screws into the rocker arm.
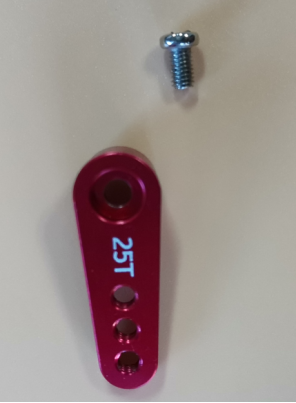

5. Screw the screw into the rocker arm (the third hole).
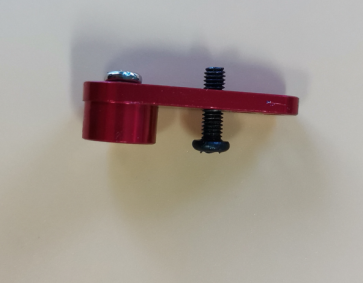
6. Install the rocker arm to the servo and make sure that the rocker arm and the servo are vertical. (Because it is tooth meshing, there will be a deviation of 0°-10° during installation)

7. Tighten the screws with an Allen key and a Phillips screwdriver.
Note: It may be necessary to use a screwdriver to tighten the screws and an Allen wrench to tighten the screws during the process.
After tightening, loosen the screws slightly to ensure that the swing arm can drive the front wheels to rotate together.