USD
USD EUR
EUR GBP
GBP CAD
CAD AUD
AUD HKD
HKD JPY
JPY KRW
KRW


, Line Tracking, Obstacle Avoidance, OLED Display, Ultrasonic Sensor, IR Wireless Remote Control")

, Line Tracking, Obstacle Avoidance, Servo Motor, USB-C Charging")


This isn't my first DIY kit, but it was particularly enjoyable. The instructions were very clear, making it possible to put together the robot car in just a few hours. The car packs a punch, and you can easily adjust its speed. Each component was explained individually, detailing how to program it and its functions. I also found the small OLED screen impressive; it allows you to send messages. Personally, I found the Raspberry Pi easier to program compared to other Arduino chips, especially with the MicroPython language.
The car strongly reminds me of the RC Jumper from Watchdogs 2. I think the remote control is a better option than using an app. You can assign different functions to the various buttons, like displaying text on the OLED. Plus, the line tracking offers exciting race tracks where you can go full speed without the car veering off course. I highly recommend this building set for avid hobbyists. It's also great for teenagers looking to further their programming skills.
Your position: Home > All Products
- Pico Kit
- Smart Car Kits
- Pico Smart Car Kit
- Raspberry Pi Pico Robot Kits
-
 $ 89.99Quantity: 1
 -
 $ 14.79Quantity: 1
 -
 $ 12.49Quantity: 1
 -
 $ 7.99Quantity: 1
 -
 $ 12.99Quantity: 1
 -
 $ 27.49Quantity: 1
 -
 $ 18.49Quantity: 1
The select 0 products
$79.99
- Description
About this item
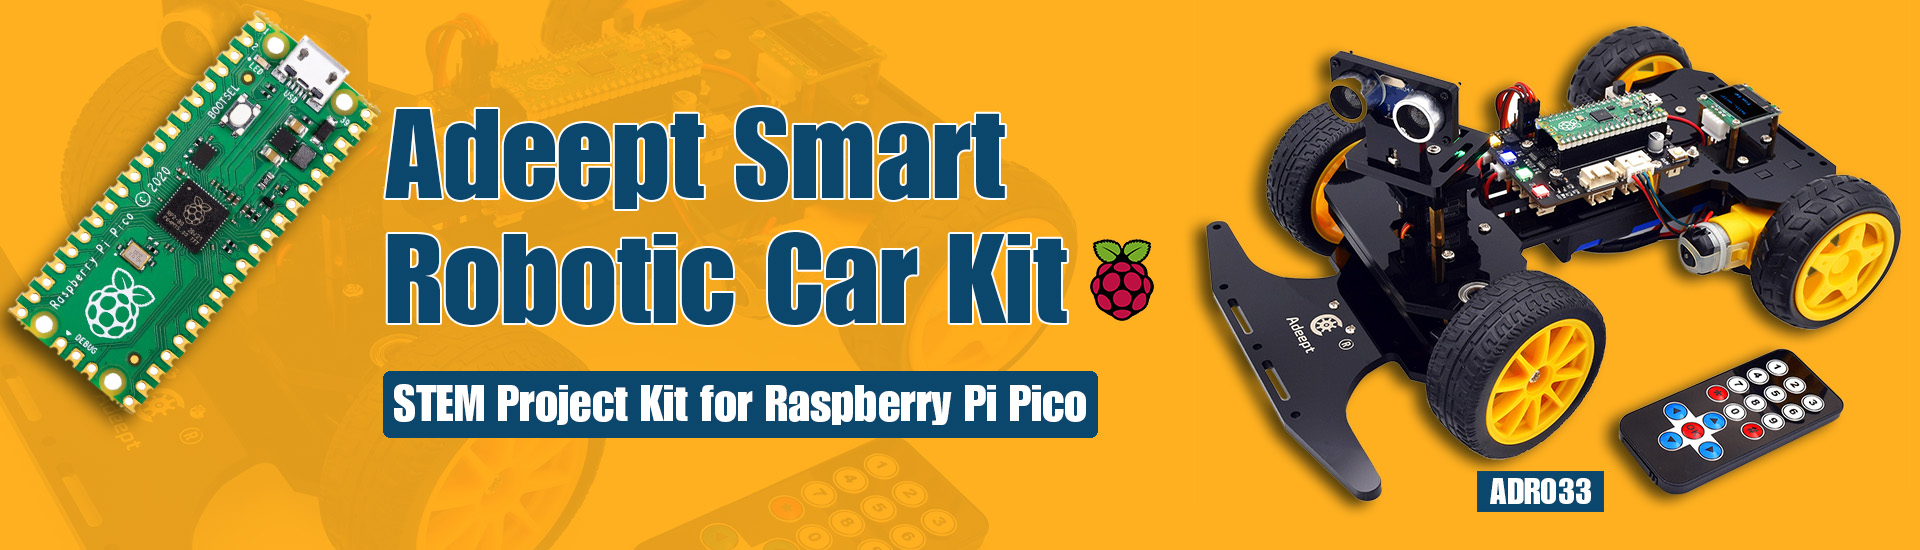
- This Smart Car Kit is designed for teens to learn to coding, building and programming. It is developed based on the Raspberry Pi Pico, using MicroPython as the programming language, the code is easy to read and easy to modify, it is the best choice for learning programming and robotics.
- Easy to Assemble and Build - Detailed tutorials(180 Pages, 15 Lessons) and complete code are provided. The download link can be found on the card in the box (Paper tutorials are NOT available as the tutorials are updated frequently).
- Various Control Methods - IR Remote Control, Obstacle Avoidance, Line Tracking, etc.
- The smart car uses servo motor to control steering, which is closer to the mechanical structure of a real car.
- This kit comes with a ESP8266 Wi-Fi module, you can program to control this smart car by APP.
Important Tips:
This kit is loose pieces, you need to assemble it yourself.
Download Tutorials:
https://www.adeept.com/learn/detail-71.html
Lessons:
0001 Adjust the initial angle of the servo
0002 Assemble
001 Introduction Raspberry Pi Pico
002 About Pico Robot Expansion Board
003 Configure Pico operating environment
01 Blink LED
02 Buzzer
03 Servo Motor
04 Measure Distance
05 WS2812 RGB LED
06 How to Control a DC Motor
07 Line Tracking
08 How to use IR receiver and IR remote
09 OLED Display
10 View Raspberry Pi Pico Information
11 IR Remote Control Car
12 Obstacle Avoidance
13 Line Tracking
14 Follow
15 Comprehensive Function
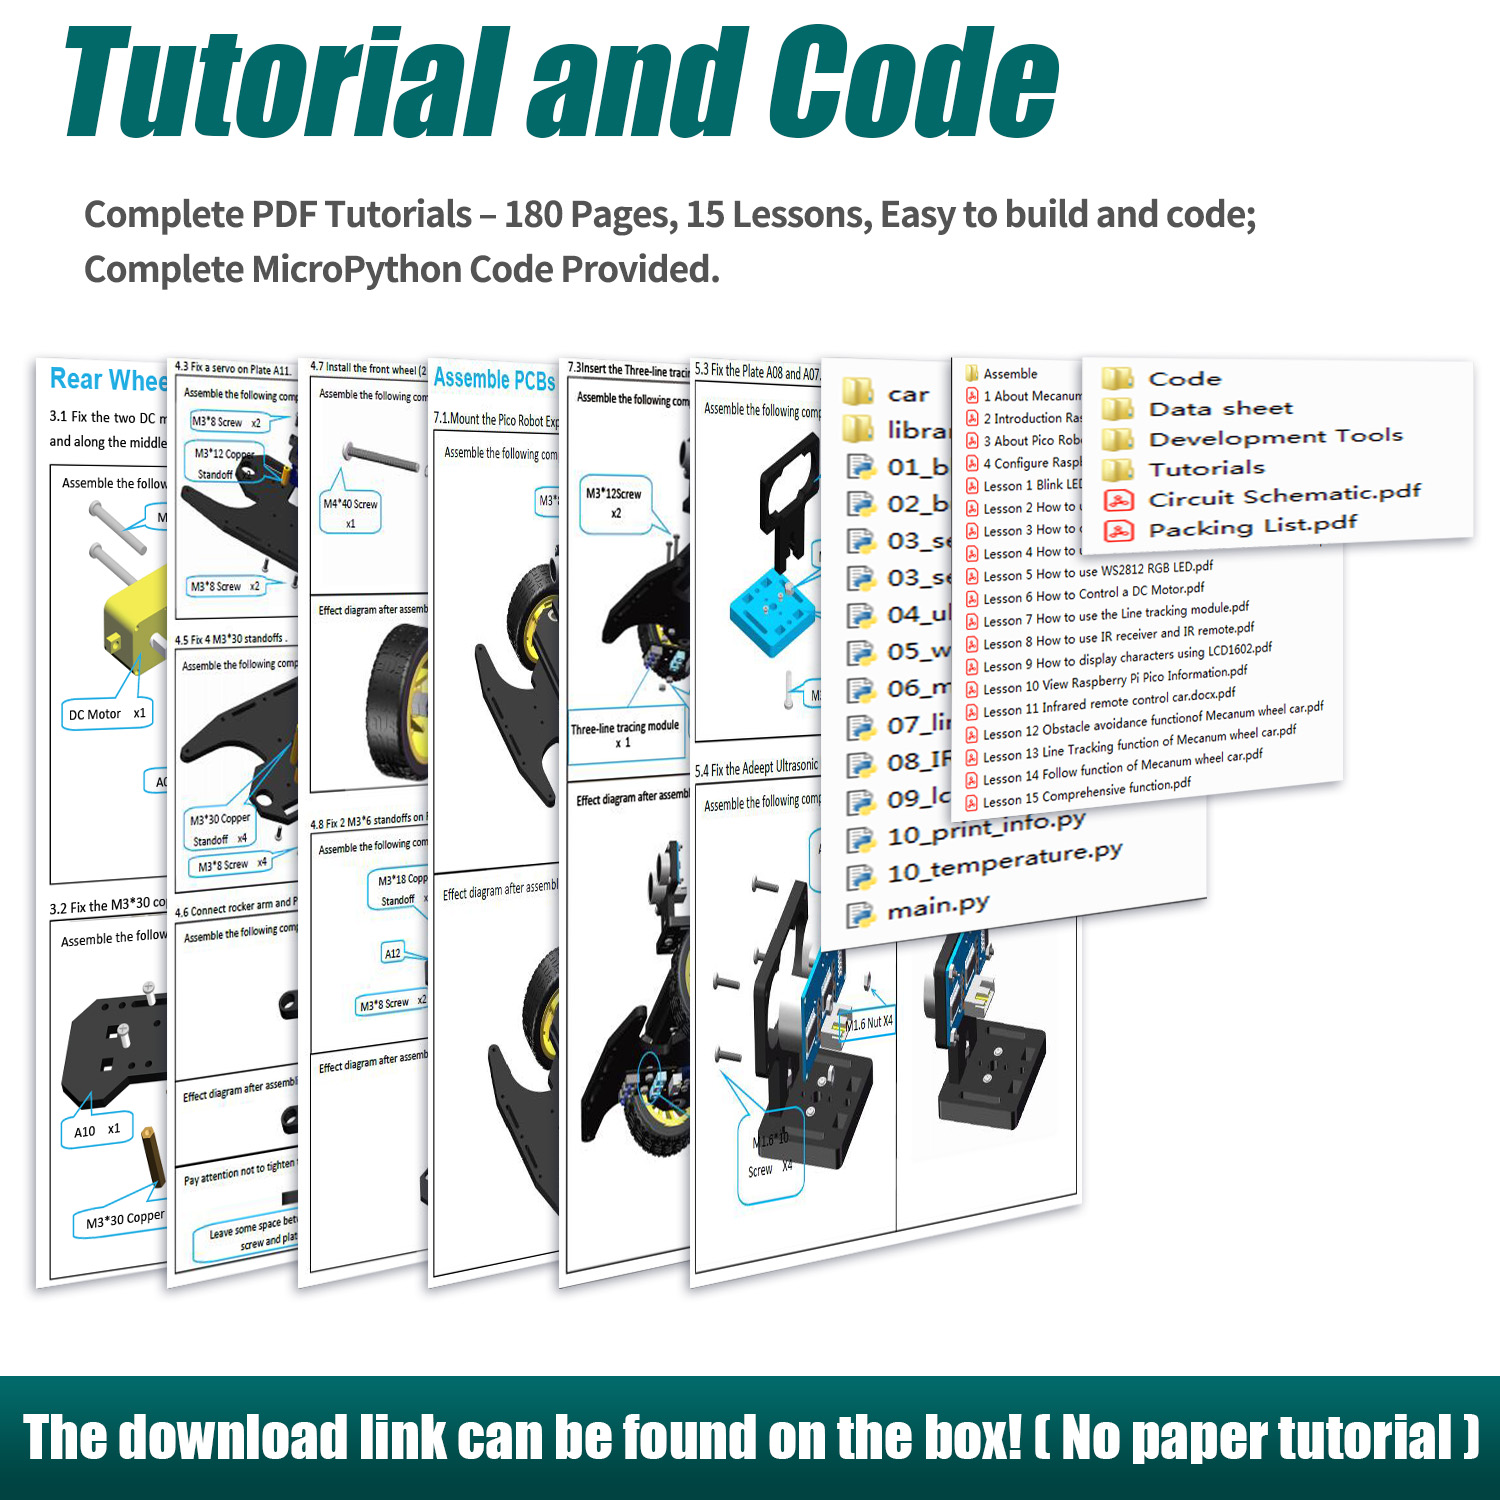
Package List:
1 Set Structure Parts(Acrylic)
1x Raspberry Pi Pico(Pins Pre-soldered)
1x Pico Robot Expansion Board
1x 0.96" OLED Display Module
1x Ultrasonic Module
1x 3CH Line Tracking Module
1x ESP8266(ESP-01) Module
1x IR Remote Control
2x TT Motor
2x Front Wheel
2x Rear Wheel
3x AD002 Servo Motor
4x F624ZZ Bearing
4x F687ZZ Bearing
1x Battery Holder
1x Micro USB Cable
Other Necessary Accessories(Cables, Nuts, Screws, Copper Standoffs, Nylon Standoffs, Tools, etc.)
You May Like
, Color Tracking, OLED Display, Video Transmission")
-
$99.99
, Smart Car with 4-DOF Robotic Arm for Pi 5/4/3, 1080P HD Camera, OpenCV, OLED")
-
$164.99

-
$114.99

-
$89.99

-
$89.99

-
$94.99
, STEM Projects Kit, Robotics & Engineering Kit, Programming Set")
-
$79.99

-
$169.99

-
$44.99
Product reviews can be carried out after the member login, please click here to login
See all 4 Customer Reviews