Overview
In this lesson, we will introduce a new electronic device (Servo) to you, and tell you how to control it with the Arduino MEGA 2560.
Requirement
- 1* Arduino MEGA 2560
- 1* USB Cable
- 1* Servo
- Several Jumper Wires
Principle
1. Servo motor
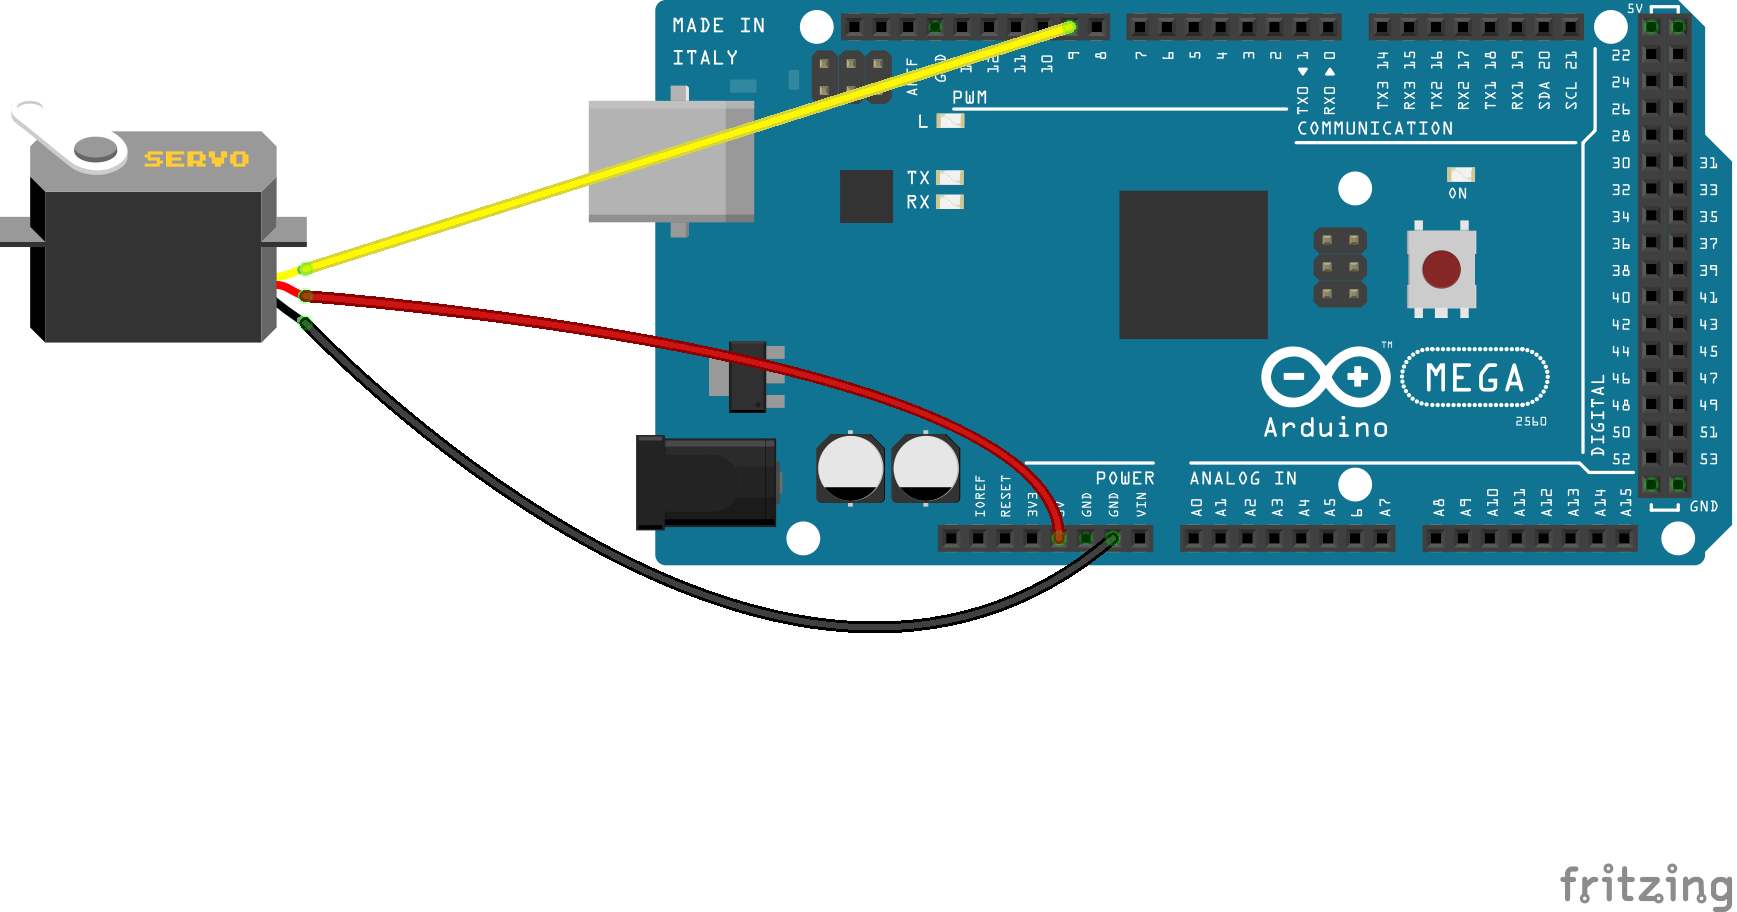
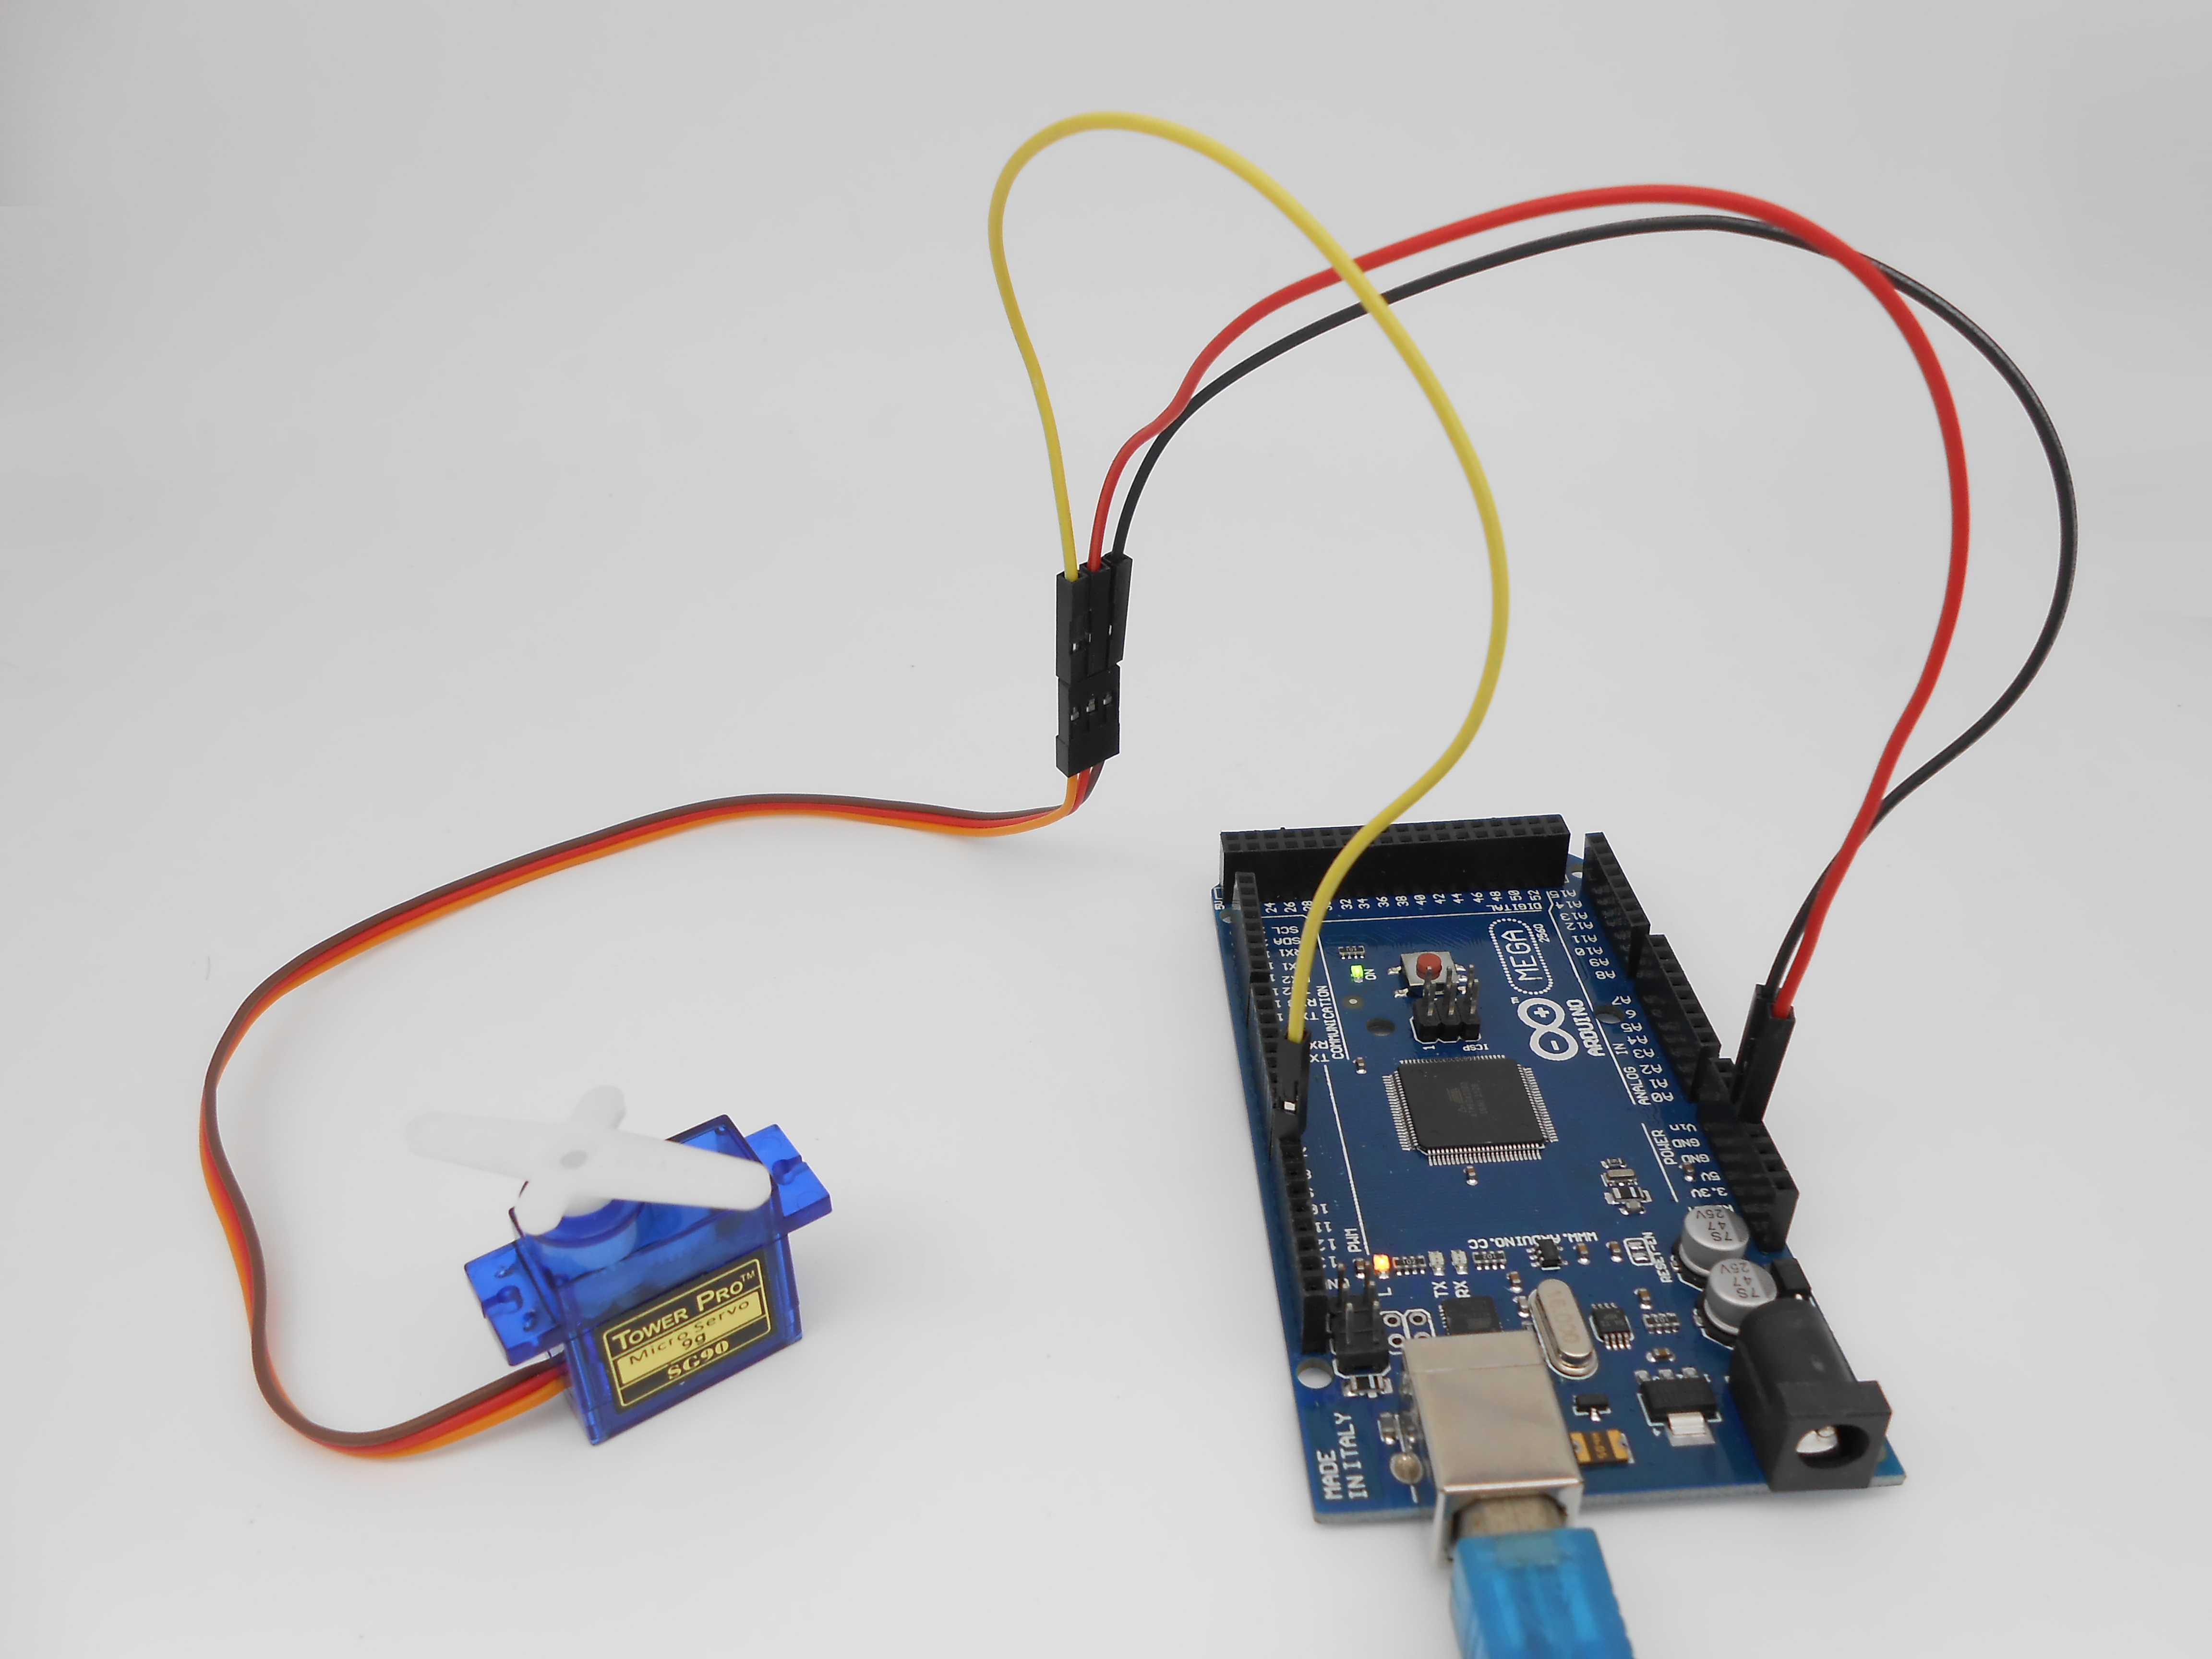
The servo motor have three wires: power, ground, and signal. The power wire is typically red, and should be connected to the 5V pin on the Arduino board. The ground wire is typically black or brown and should be connected to a ground pin on the Arduino board. The signal pin is typically yellow, orange or white and should be connected to a digital pin on the Arduino board. Note the servo motor draw considerable power, so if you need to drive more than one or two, you'll probably need to power them from a separate supply (i.e. not the +5V pin on your Arduino). Be sure to connect the grounds of the Arduino and external power supply together.
2. Servo library
This library allows an Arduino board to control RC (hobby) servo motors. Servos have integrated gears and a shaft that can be precisely controlled. Standard servos allow the shaft to be positioned at various angles, usually between 0 and 180 degrees. Continuous rotation servos allow the rotation of the shaft to be set to various speeds.
3. Key functions:
●attach()
Attach the Servo variable to a pin. Note that in Arduino 0016 and earlier, the Servo library supports only servos on only two pins: 9 and 10.
Syntax
servo.attach(pin)
servo.attach(pin, min, max)
Parameters
servo: a variable of type Servo
pin: the number of the pin that the servo is attached to
min (optional): the pulse width, in microseconds, corresponding to the minimum (0-degree) angle on the servo (defaults to 544)
max (optional): the pulse width, in microseconds, corresponding to the maximum (180-degree) angle on the servo (defaults to 2400)
Procedures
1. Build the circuit
2. Program
3. Compile the program and upload to Arduino MEGA 2560 board
Now, you should see the servo rotate 180 degrees, and then rotate in opposite direction.
Summary
By learning this lesson, you should have known that the Arduino provided a servo library to control a servo. By using the servo library, you can easily control a servo. Just enjoy your imagination and make some interesting applications.