In this lesson, we will learn how to control the movement of the robotic arm with the GUI when the Raspberry Pi is connected to an external monitor.
12.1 How to connect an external monitor to the Raspberry Pi
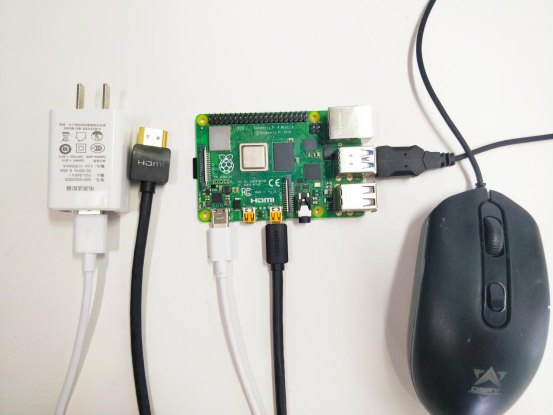
1. We provide a way to connect the Raspberry Pi to the display, you need to prepare the following components:
(1) 1 Type-C data cable: power supply for Raspberry Pi.
(2) 1 HDMI cable: used to connect the monitor.
(3) 1 mouse: used for operation.
(4) 1 display
(5) 1 Raspberry Pi (The code file for controlling the robot must be downloaded in the Raspberry Pi according to the 2.1 course)
(6) 1 keyboard
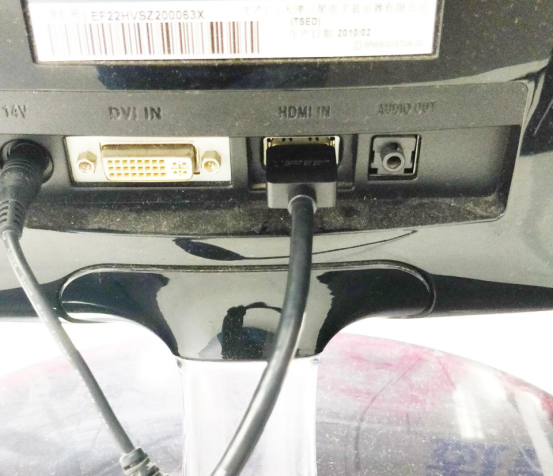
2. Connect the HDMI cable connected to the Raspberry Pi to the HDMI port of the display:
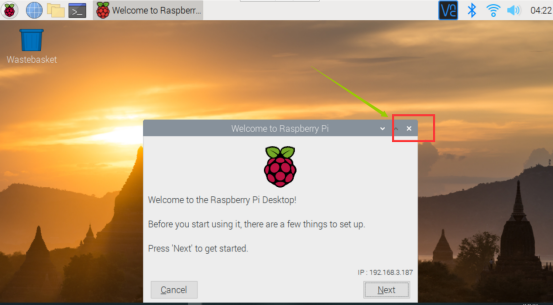
3. Turn on the display switch and supply power to the Raspberry Pi. You will see the startup interface of the Raspberry Pi, and wait for the Raspberry Pi to start successfully. Then click OK.
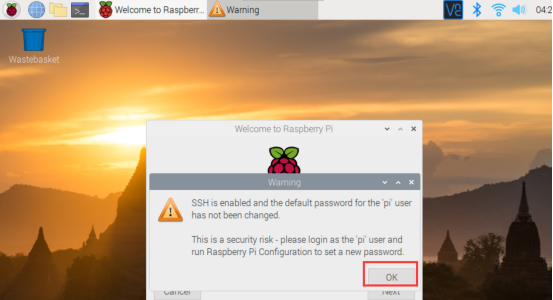
Click the X button in the upper right corner.
12.2 Controlling the robotic arm with GUI
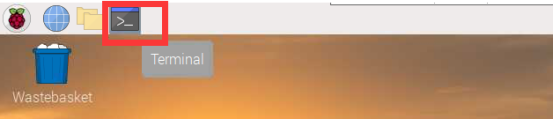
1. After successfully connecting to the monitor and successfully starting the Raspberry Pi, you need to click the Raspberry Pi Terminal window on the upper left. As shown below:
2. Enter the following command in the opened Terminal window:
cd adeept_rasparms/server
ls

3. Enter the command to run the GUI application:
sudo python3 'GUI on Raspberry Pi.py'

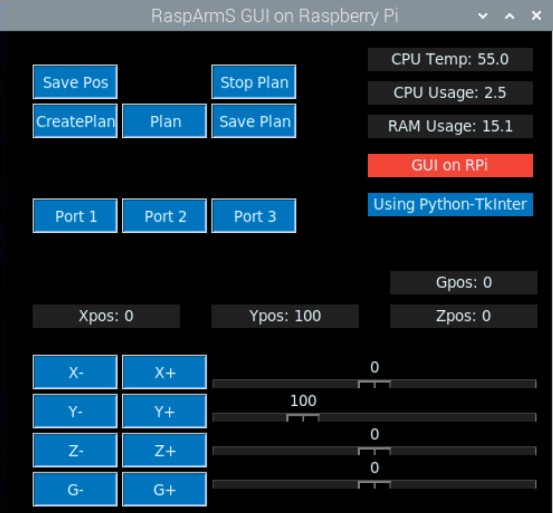
4.Then you will see the control interface of the GUI application. The introduction to the use of GUI applications has been introduced in "Lesson 11 Remotely Controlling Robot Arms by GUI". You can control the robotic arm with the corresponding buttons to realize your creativity.