We have developed a WEB application to control the robotic arm to lower the barriers to use of the robotic arm. The WEB application is convenient to use. You can remotely control the robotic arm on a device with a browser (Google browser is recommended).
13.1 How to open the web application
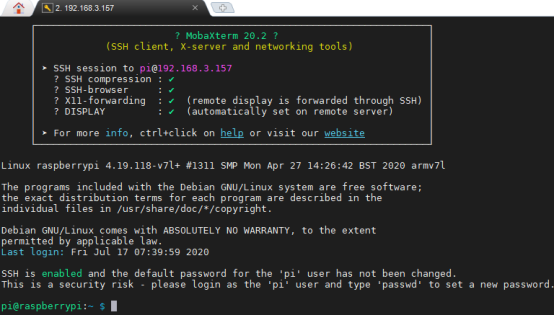
1. Open the terminal software MobaXterm:

2. Log in to your Raspberry Pi (the way to log in to Raspberry Pi has been introduced in Lesson 1):
3. The relevant code programs of the RaspArm-S robot are stored in the folder of adeept_rasparms, which have been explained in "2.1 Downloading the code program to control the robot" in Lesson 2. First, you need to enter the server directory with the command window of the Raspberry Pi and enter the following command:
cd adeept_rasparms/server

4. Enter the command to display the contents of the current directory:
ls

5. Enter the command to run simpleCtrl.py:
sudo killall python3
sudo python3 simpleCtrl.py
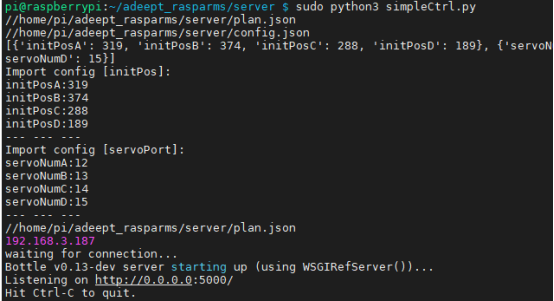
At this point, you need to open the Google browser (on your phone or computer) and enter the URL in the following format in the address bar: Raspberry Pi IP: 5000
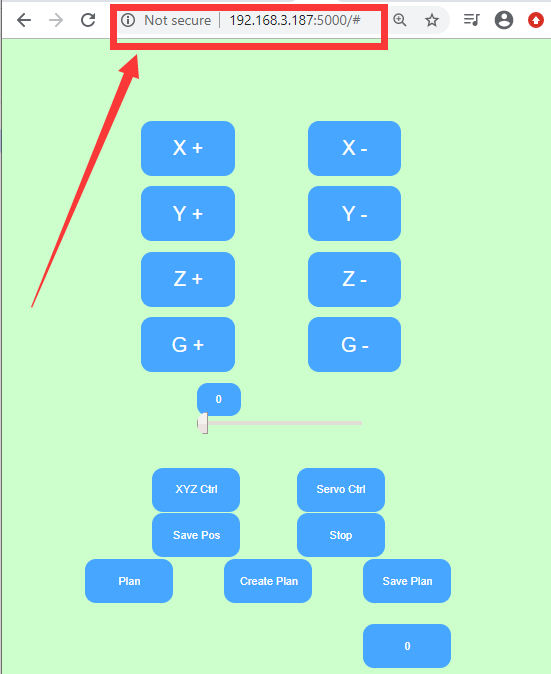
For example, the IP address of my Raspberry Pi is 192.168.3.187, then the URL format in the address bar of the browser is: 192.168.3.187:5000
The interface after logging in to the web application is shown below:
13.2 Introduction to Web Application Functions
When learning the content of section 13.2, you only need to read and understand, without any click operations. We will provide an operation case in section 13.3.
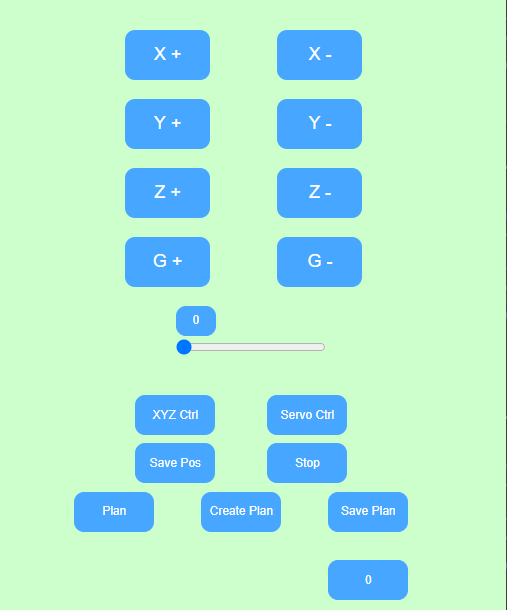
The following is an introduction to the functions of each button.
13.2.1 [X+ and X-]: Controlling the end point of the robotic arm to move left and right
(1) X+:
If you click the X+ button, the x value becomes larger, and the end point of the robotic arm shifts to the right.
(2) X-:
If you click the X- button, the x value becomes smaller and the end point of the robotic arm is shifted to the left.
13.2.2 [Y+ and Y-]: Controlling the end point of the robotic arm to move back and forth
(1) Y+:
If you click the Y+ button, the Y value becomes larger and the end point of the robotic arm moves forward.
(2) Y-:
If you click the Y-button, the Y value becomes smaller and the end point of the robotic arm moves backward.
The position of the end point of the robotic arm is as follows:
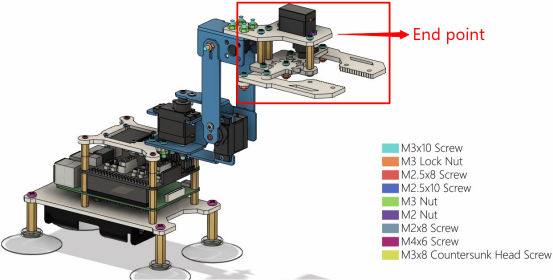
13.2.3 [Z+ and Z-]: Controlling the end point of the robotic arm to move up and down
(1) Z+:
If you click the Z+ button, the Z value becomes larger, and the end point of the robotic arm moves upward.
(2) Z-:
If you click the Z- button, the Z value becomes smaller and the end point of the robotic arm moves downward.
13.2.4 [G+ and G-]: Controlling the opening and closing of the mechanical arm clip
(1) G+:
If you click the G+ button, the G value becomes larger and the mechanical arm clip opens.
(2) G-:
If you click the G- button, the G value becomes smaller, and the mechanical arm clamp closes.
13.2.5  :
:
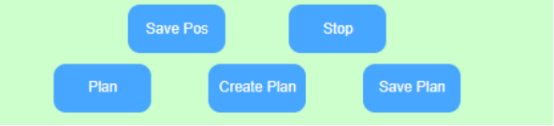
Click the button , and the robot arm will record the coordinate position of the X, Y, Z, G axis of the current end point of the robot arm.
13.2.6
Click the button , the end point of the robotic arm will repeatedly move between the recorded positions of different coordinate points.
Click the button directly, and the robotic arm will move back and forth repeatedly between the positions where the coordinate points are saved in the "plan.json" file by default.
When the end points of the robotic arm are at different coordinate points (more than 2 coordinate points), click the button , and the robotic arm will record the position information of the different coordinate points in the form of an array [X, Y, Z, G]. If you click the button
 , the end point of the robotic arm will repeatedly move between the recorded positions of different coordinate points.
13.2.7
When you click the button , the previously saved coordinate point position information will be deleted. At this time, you can combine the button
  to recreate and record the new coordinate position information.
13.2.8
When you click the button , the previously saved coordinate point position information will be deleted, and you will enter the setting mode of re-recording the position of the end point of the robotic arm. You only need to click it once. At this time, you can click the X, Y, Z, and G buttons. Adjust the position of the end point of the robotic arm. Each time you adjust, combine the button
  to save the coordinates of the end point of the robotic arm.
13.2.9
Click the button and the robot arm will stop moving.
13.3 Controlling the end point of the robotic arm to move between the new position points
When you open the web control application for the first time, click the button , and the robot arm will repeat the movement between the last recorded and saved position points (must be 2 different positions), then how to change the end point of the robotic arm to move at different points? Let's learn together.
First click the button  to stop the moving robot arm, and then click the button
  to start recording a new position point. At this time, you need to combine the X, Y, Z, and G buttons to adjust the position of the end point of the robot arm, such as by clicking the button
 , the end point of the robotic arm rotates to the right to a position to stop. At this point, we need to save the position of this coordinate point. By clicking the button
 , we can save the current position; then we need to record the new position again, continue to slide the X slider to the middle position, and click the button
 to save the current position to record; now we have recorded 2 different position points, now click the button
 , the end point of the robotic arm will repeat movement between the 2 different positions just recorded. If you want to continue running the location you just recorded and saved when you turn on the Raspberry Pi next time, you can record the location information by clicking the button
 , and that's it.