In this lesson, we're going to do an interesting experiment to display numbers on Micro:bit.
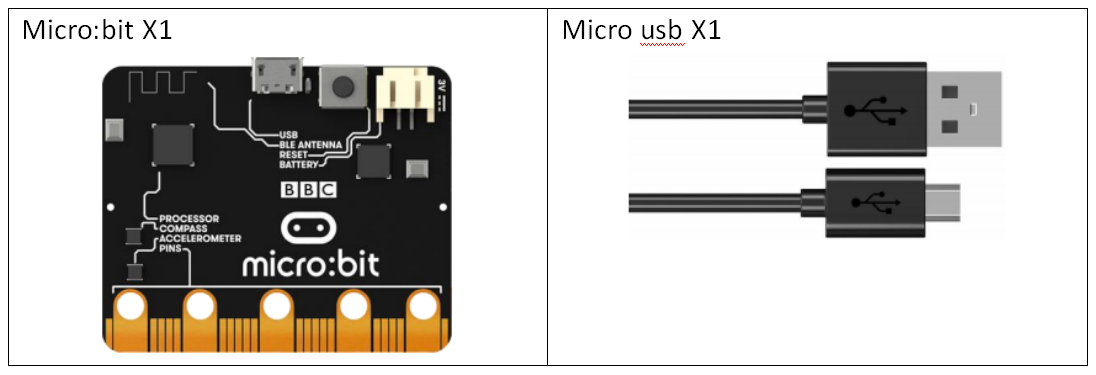
5.1 Components to be prepared
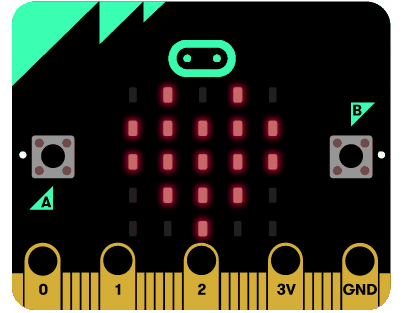
5.2 LED display
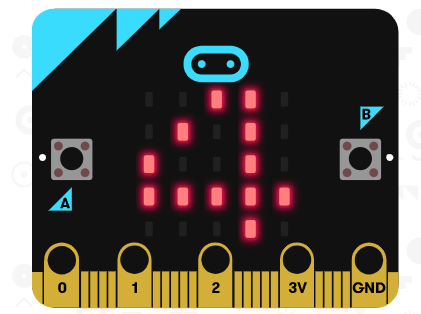
The front LED display of Micro:bit consists of 25 5x5 lattice LEDs.
25 LEDs arranged in a 5x5 grid make up the display for showing pictures, words and numbers.
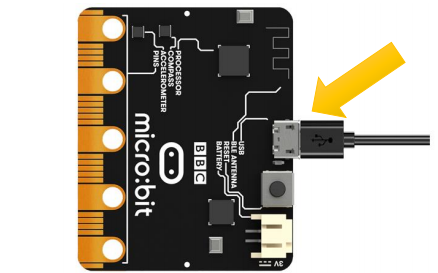
5.3 Circuit
Connect micro:bit and PC with a Micro USB cable.
5.4 MakeCode programming
Next, we will use the online MakeCode Editor to complete the experiment.
5.4.1 Start programming
(1) Log in to the website
1. You need to enter the URL in the address bar of Google Browser:
https://makecode.microbit.org/
2. After the website is successfully opened, the interface as shown below will appear:
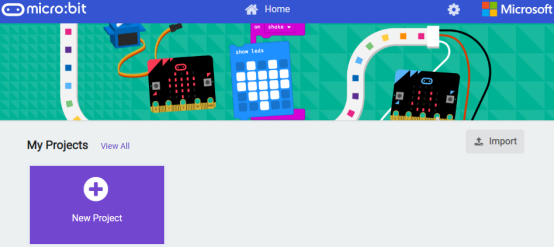
(2) Create a project
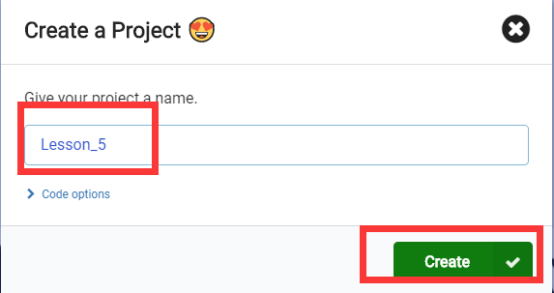
1. Click the  button in the lower left corner to create a new project. In the pop-up input box, enter the name of the new project: Lesson_5, and then click the
  button to confirm:
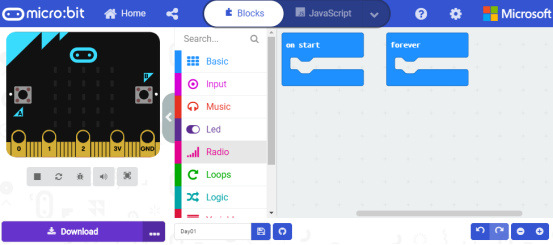
2. Then you enter the programming interface of the MakeCode Editor:
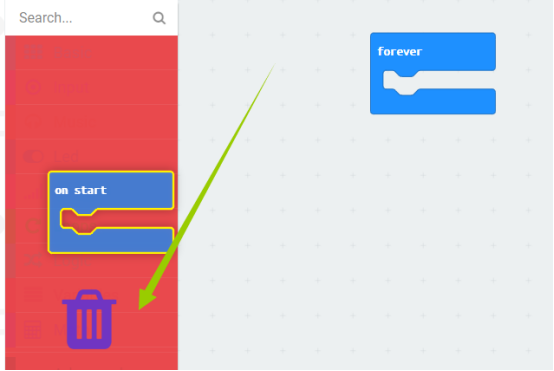
3. The default command block  is not used in this lesson, so you need to drag it to the "Command Block Toolbar" on the left to delete it.
(3) Start programming
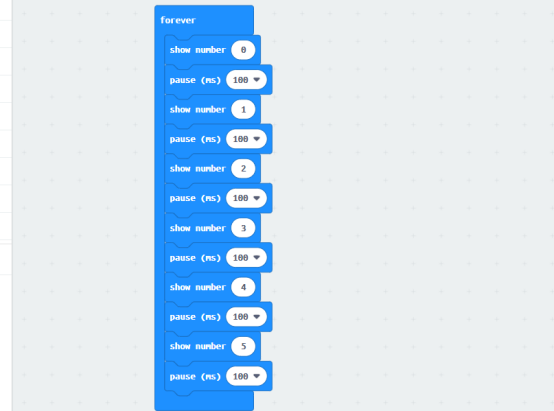
The front LED display of Micro:bit can display characters such as numbers. Therefore, we only need to program on Micro:bit to display a series of numbers on the LED display screen. These numbers are displayed according to a certain time interval, just as we usually count 0, 1, 2, 3, 4... Now I start programming, counting from 0 to 5.
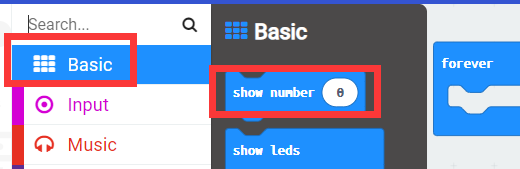
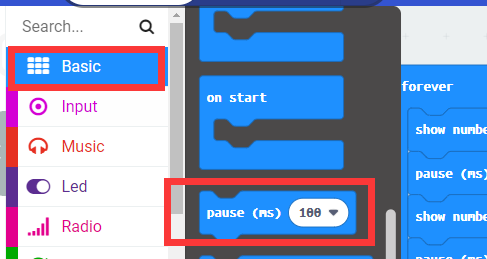
1. In the "Command Block Toolbar", find the display digital command block in [basic]:  , as shown in the following figure:
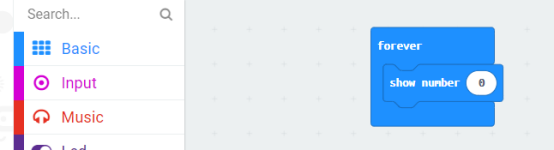
2. Drag 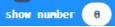 to the "Command Block Editing Area" on the right. This command displays the number "0" by default, as shown in the following figure:
3. We need to count from 0 to 5, so how to quickly copy the same instruction block? You can quickly copy this command block by clicking the command  with the mouse, right clicking and selecting the "Duplicate", as shown in the following figure:

Change the number "0" in the  instruction block into the number 1, as shown in the following figure:

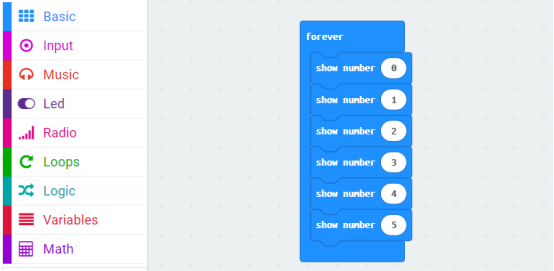
4. According to the same method above, copy the instruction block showing the numbers 2, 3, 4 and 5 in turn. The program is as follows:
5. When the above program is running, the number will be displayed quickly, but the observation is not obvious, so how to delay the execution time of the program? We can achieve this by adding a delay control instruction, and find the 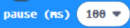 instruction in [basic], as shown in the following figure:
The  instruction is arranged in the following way, and the program is completed, as shown in the following figure:
5.4.2 Run the program
1. After programming, connect micro:bit and PC with a Micro USB cable.
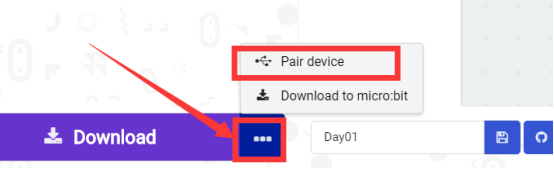
2. After micro:bit is connected to the computer, you need to first "Pair device". Click the  button on the right of the
  in the lower left corner, and then click the
  option, as shown in the following figure:
Then click  in the lower right corner

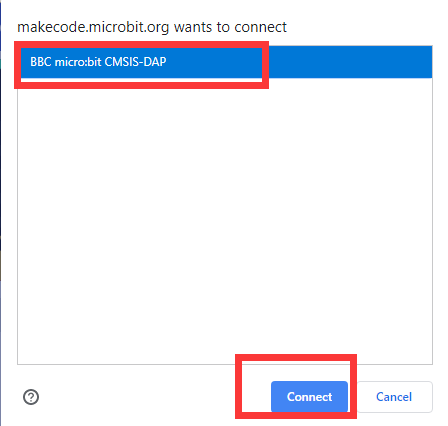
Then the following dialog box will pop up, select  , and then click
After the device is successfully paired, the  button will change to
  :
:

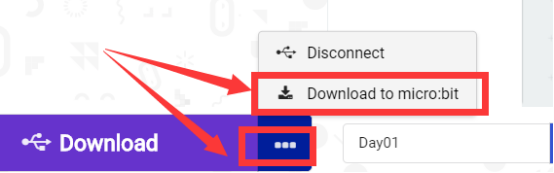
3. Start to download the program to Micro:bit, and click the  button. Generally, the program will be downloaded directly to the Micro:bit. After the download is completed, your Micro:bit will restart and run the program just downloaded. Observe the LED screen of the Micro:bit, as shown below:

【Note】:
If Micro:bit doesn't respond after clicking  , you need to click the
  button on the right of
  , and then click
  and observe the situation of the Micro:bit again, as shown in the following figure:
If you have problems, please send us an email:support@adeept.com
5.5 Python programming
5.5.1 Run the program
1.Connect micro:bit and PC with a Micro USB cable.
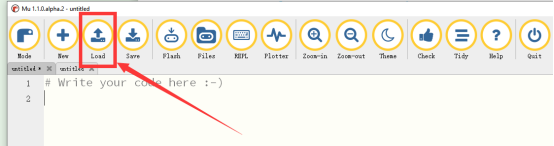
2. Open the Mu Editor installed on the computer, and click the button [Load] in the upper left corner to open the source code program of this lesson:
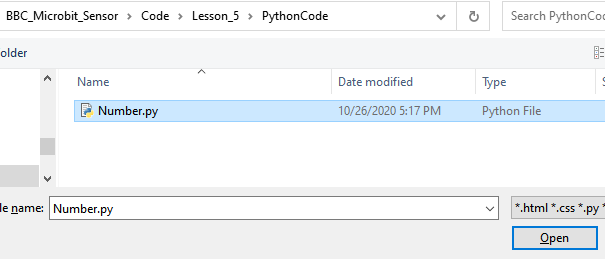
Find the code file for this lesson:
BBC_Microbit_Sensor\Code\Lesson_5\PythonCode
Select the file in ".py" format and click the Open:
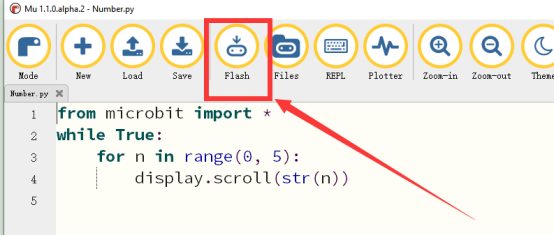
3. Click the [Flash] button to download the program to Micro:bit, as shown in the following figure:
4. After downloading the program successfully, you will observe that the number from 0 to 5 will be displayed on the LED screen of Micro:bit.
【Note】
After you click the [Flash] button, if there is no change on the LED screen of Micro:bit, you need to restart the Micro:bit, and then click the [Flash] button again.
If you have problems, please send us an email:support@adeept.com
5.5.2 Learn the code program
The source codes are as follows:
1 2 3 4 | from microbit import * while True: for n in range(0, 5): display.scroll(str(n)) |
(1) The function of range (0,5) is to generate a sequence of numbers from 0 to 5, and then assign a value to n:
3 | for n in range(0, 5): |
(2) The method of scroll (str (n)) is to make the sequence n scroll on the LED screen. The numbers in n are 0, 1, 2, 3, 4, 5, respectively.
4 | display.scroll(str(n)) |