Overview
In this lesson, we will learn how to use an IR receiver to receive signals from a remote controller.
Components
- 1 * Arduino UNO
- 1 * USB Cable
- 1 * IR Receiver HX1838
- 1 * Remote Controller
- 1 * Breadboard
- Several jumper wires
Principle
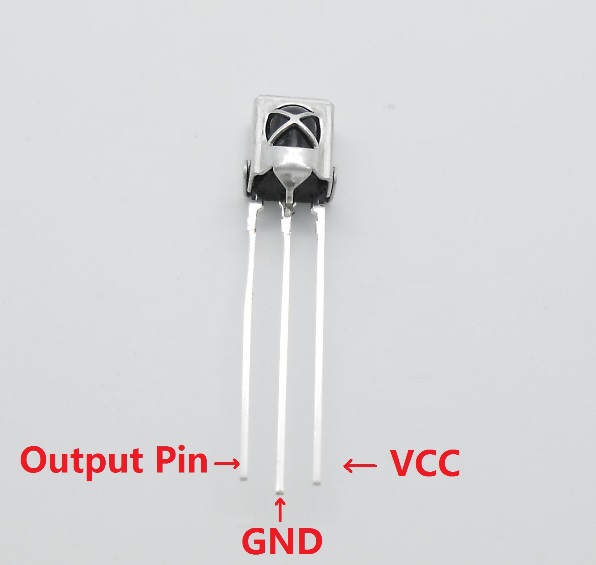
The IR receiver HX1838 can receive signals from an infrared (IR) remote controller. It has only three pins: signal, VCC and GND. So it is simple to connect with an Arduino board.
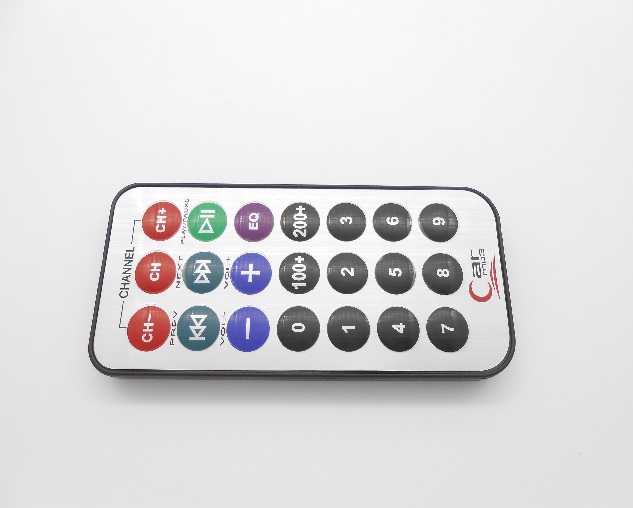
The following figure shows an IR remote controller:
In this experiment, we program the Arduino board to receive the infrared signals, and then send the received data to Serial Monitor. In the program, we use the Arduino-IRremote-master library (provided).
Note:
Before using this library, you have to delete the RobotIRremote directory in your Arduino IDE directory (check in IDE by File->Preferences[s1] , and see the path in the Browse dialog box), and delete the RobotIRremote directory in the system Documents folder. For example, if your computer is running on Windows 7, you need to delete the RobotIRremote directory in
C:\Program Files (x86)\Arduino\libraries
and
C: \Users\SJG\Documents\Arduino\libraries.
Otherwise, when you compile the program, errors will be prompted
Procedures
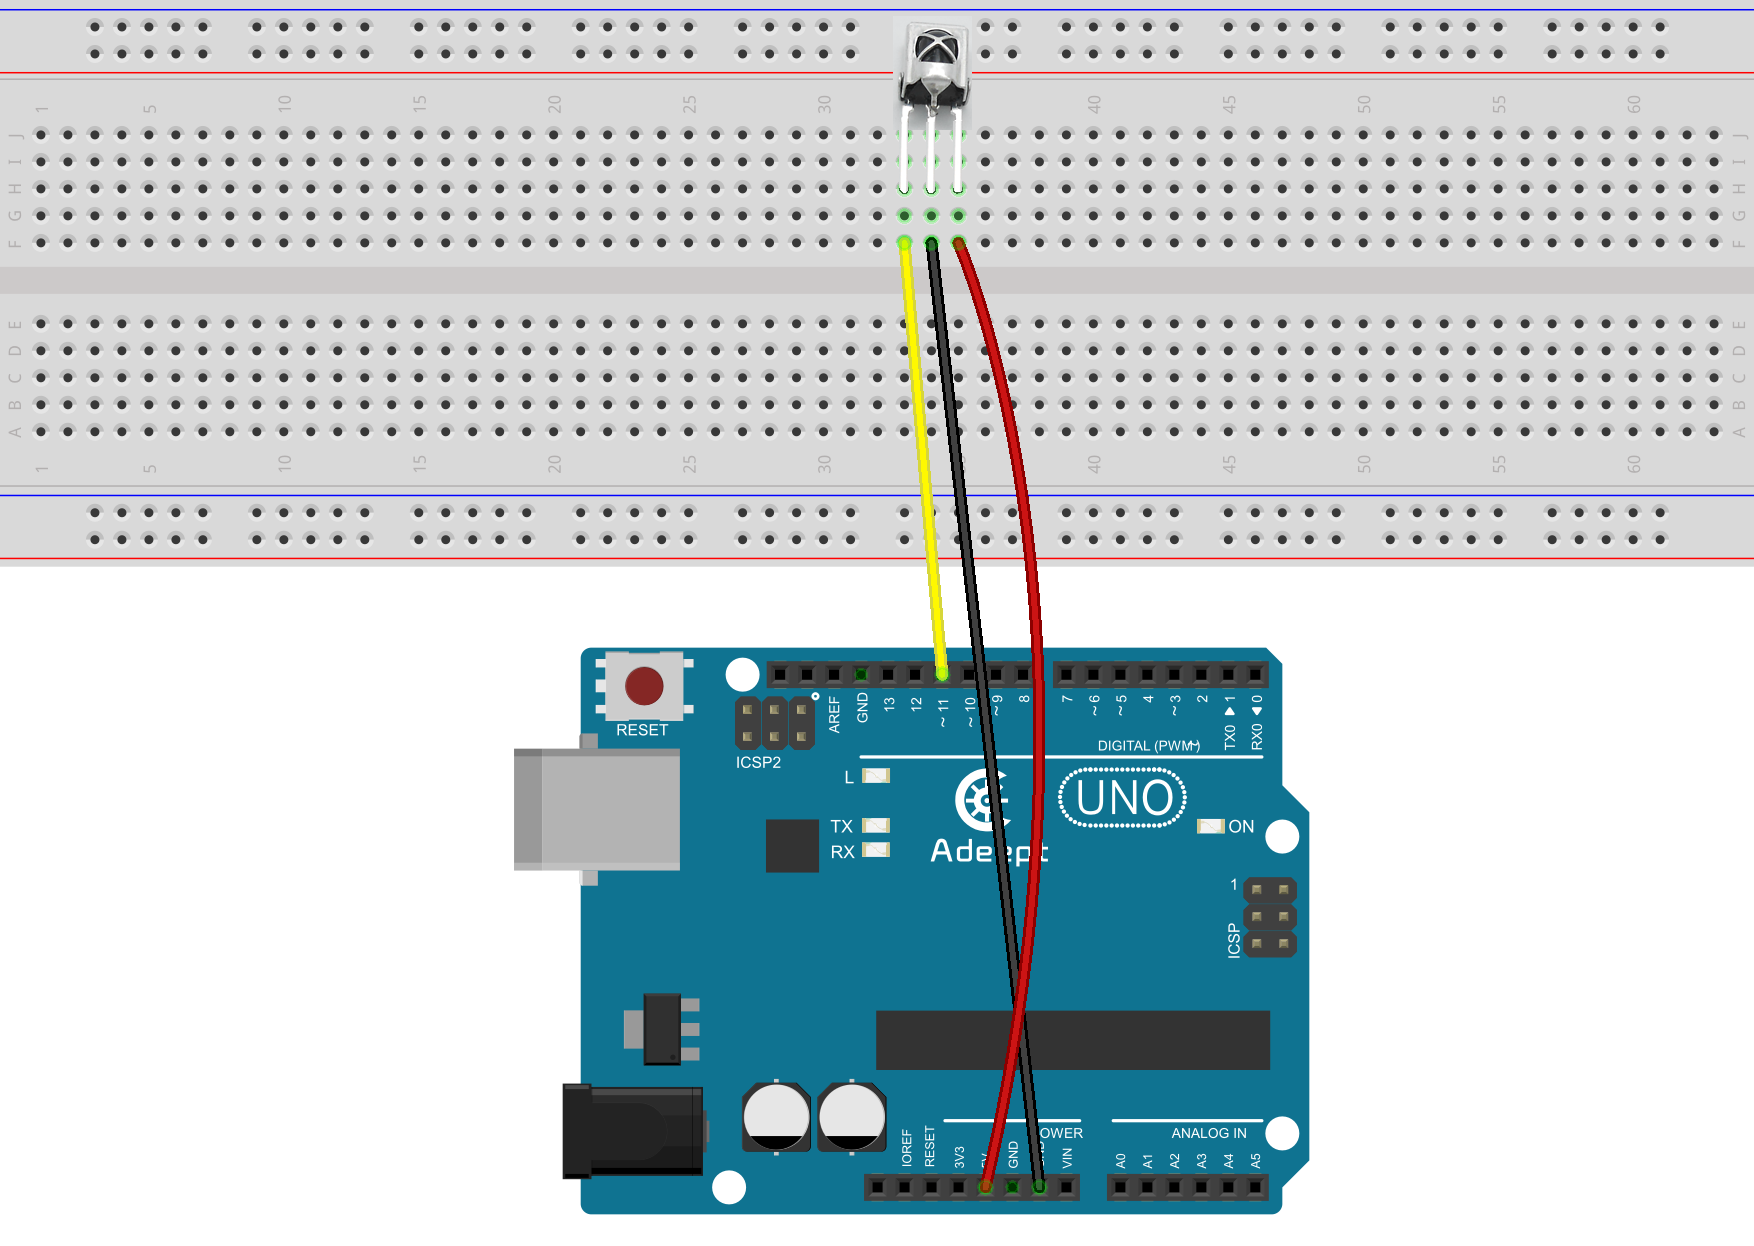
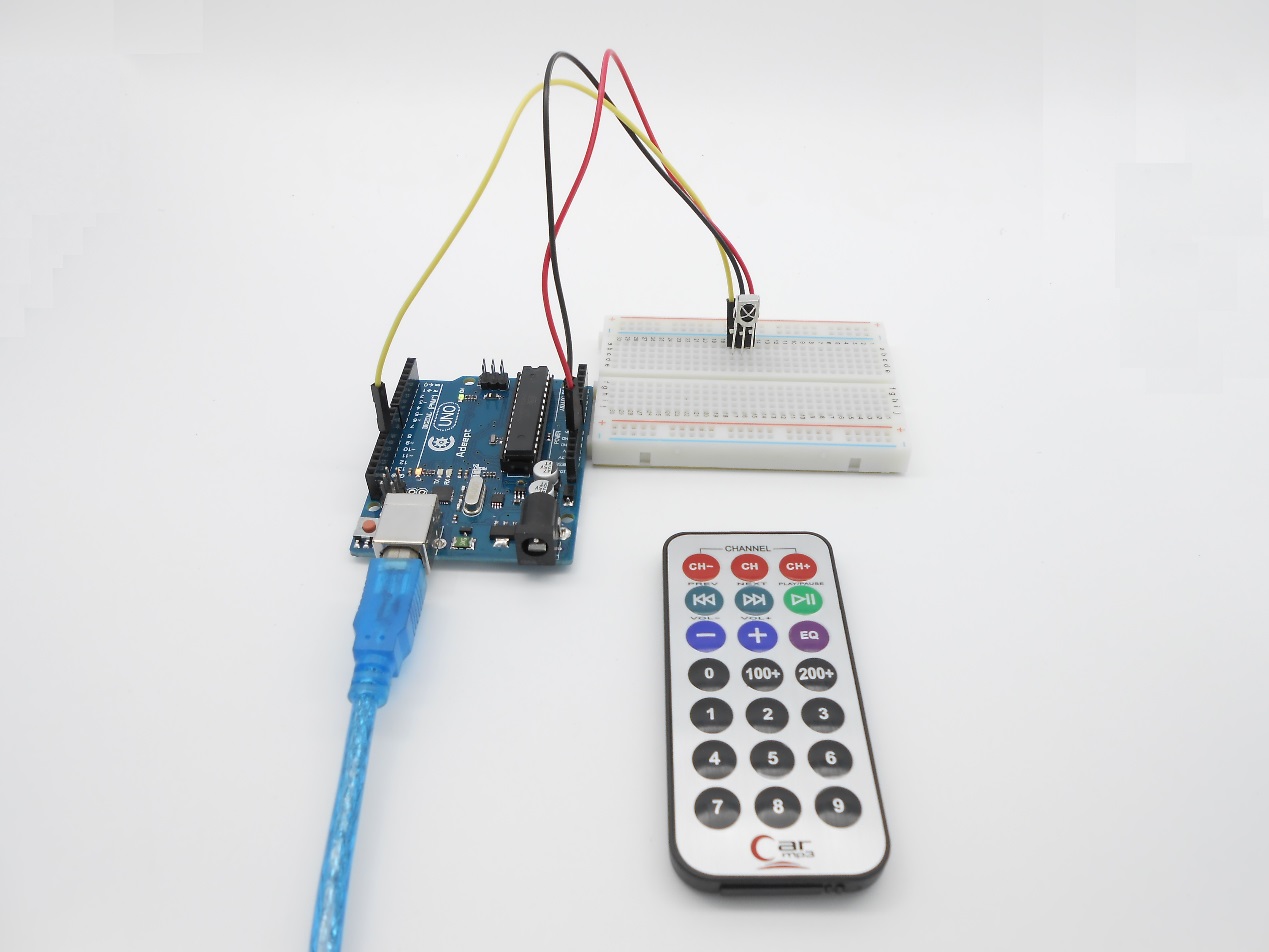
Step 1: Build the circuit
Step 2: Program
/***********************************************************
File name:

17_IRRemoterController.ino
Description: When you click the button on the remote control,


      you can see the serial montiol data.
Website: www.adeept.com
E-mail: support@adeept.com
Author: Tom
Date: 2015/05/02
***********************************************************/
#include <IRremote.h>

int RECV_PIN = 11;//The definition of the infrared receiver pin 11
IRrecv

irrecv(RECV_PIN);
decode_results results;

void setup()
{
  Serial.begin(9600); //Open serial


irrecv.enableIRIn(); // Initialization infrared receiver
}

void loop()
{
  if (irrecv.decode

(&results)) {
    Serial.println(results.value, HEX);//Wrap output in hex receive code


Serial.println();//For ease of viewing the output to add a blank line
    irrecv.resume();

//Receiving the next value
  }
}
Step 3: Compile the program and upload to Arduino UNO board
Now, press a button on the remote controller, and you will see the button number displayed on Serial Monitor.

Summary
Now you should master the basic principle of the infrared remote controlling. Try to apply the principle and make more creations!