Overview
In this lesson, we will learn how to use a matrix keypad.
Components
- 1 * Arduino UNO
- 1 * USB Cable
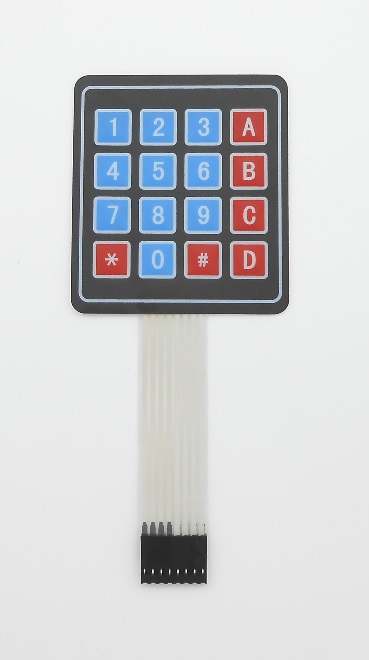
- 1 * 4x4 Matrix Keyboard
- 1 * Breadboard
- Several jumper wires
Principle
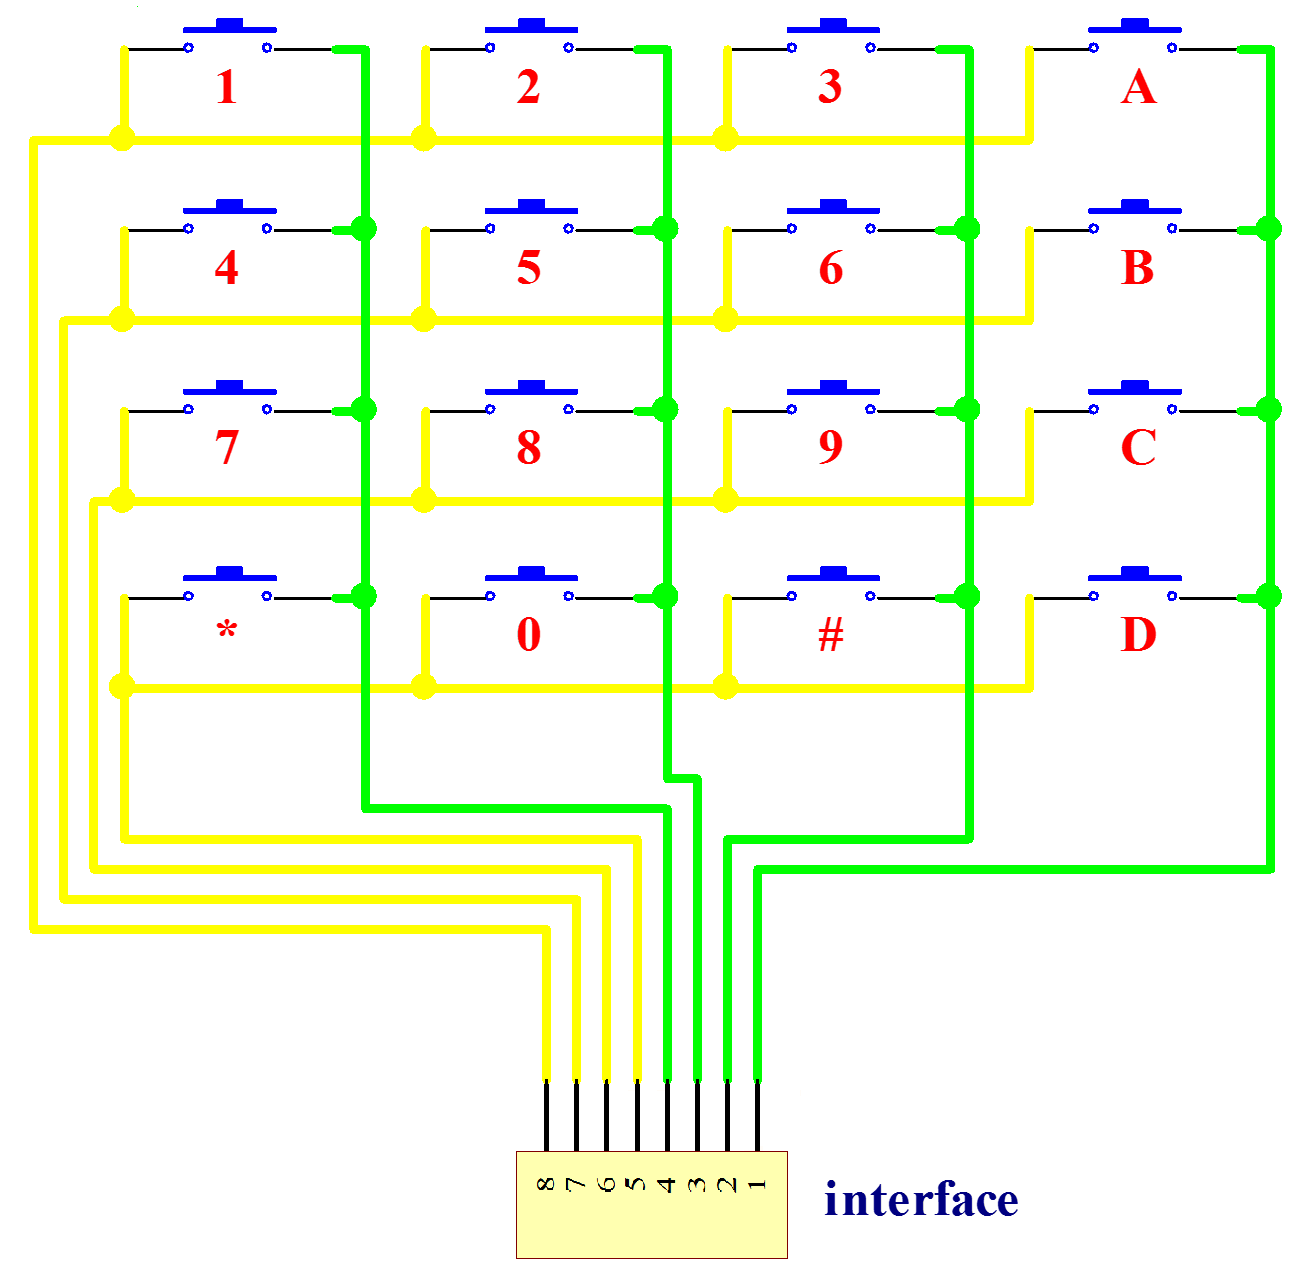
In order to save the resources of the microcontroller ports, we usually connect the buttons of a matrix in practical projects.
See the schematics of a 4x4 matrix keyboard as below:
In this tutorial, we use the Keypad library. Before programming, please install the library (for how to, see Lesson 17).
Procedures
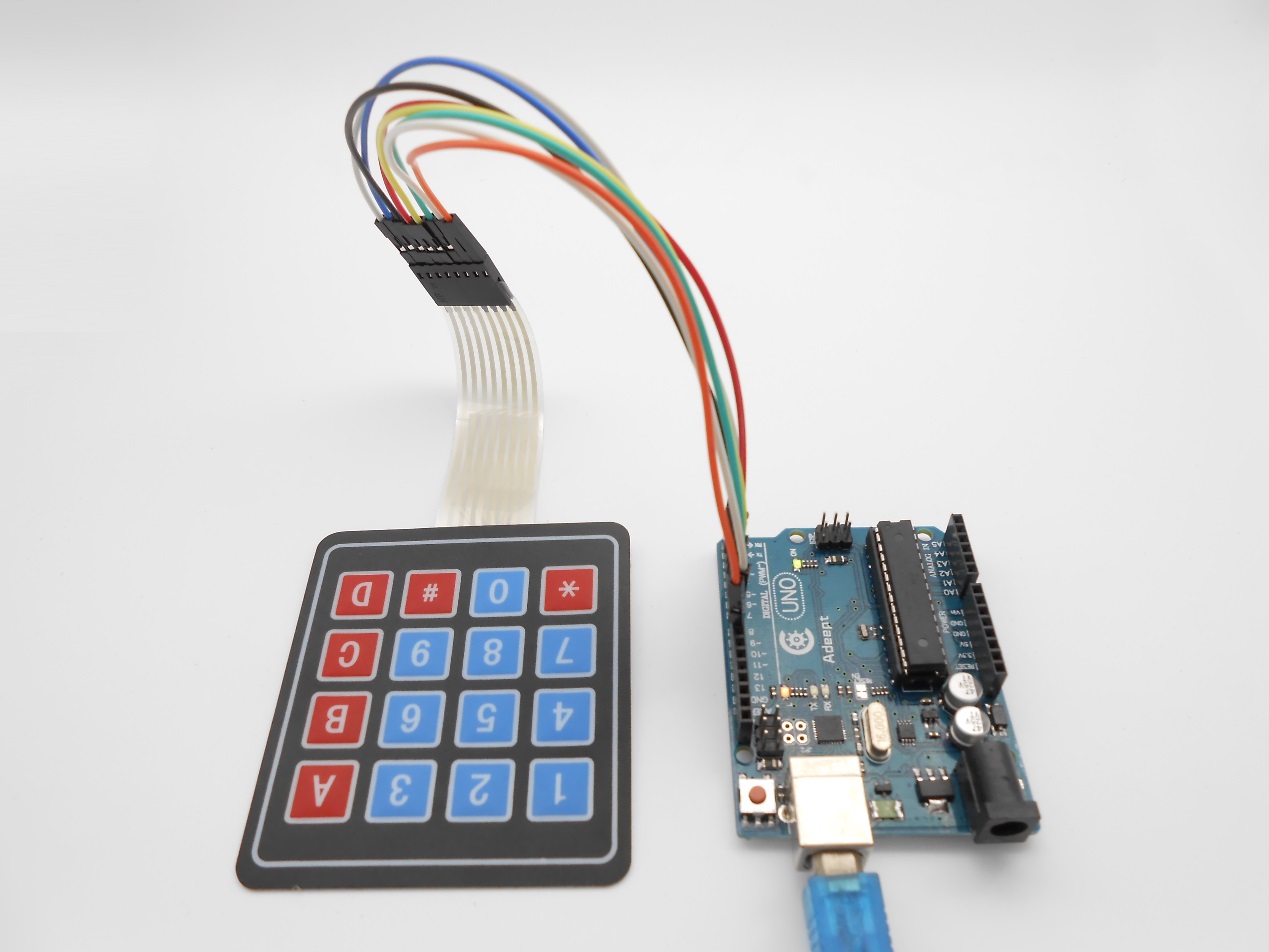
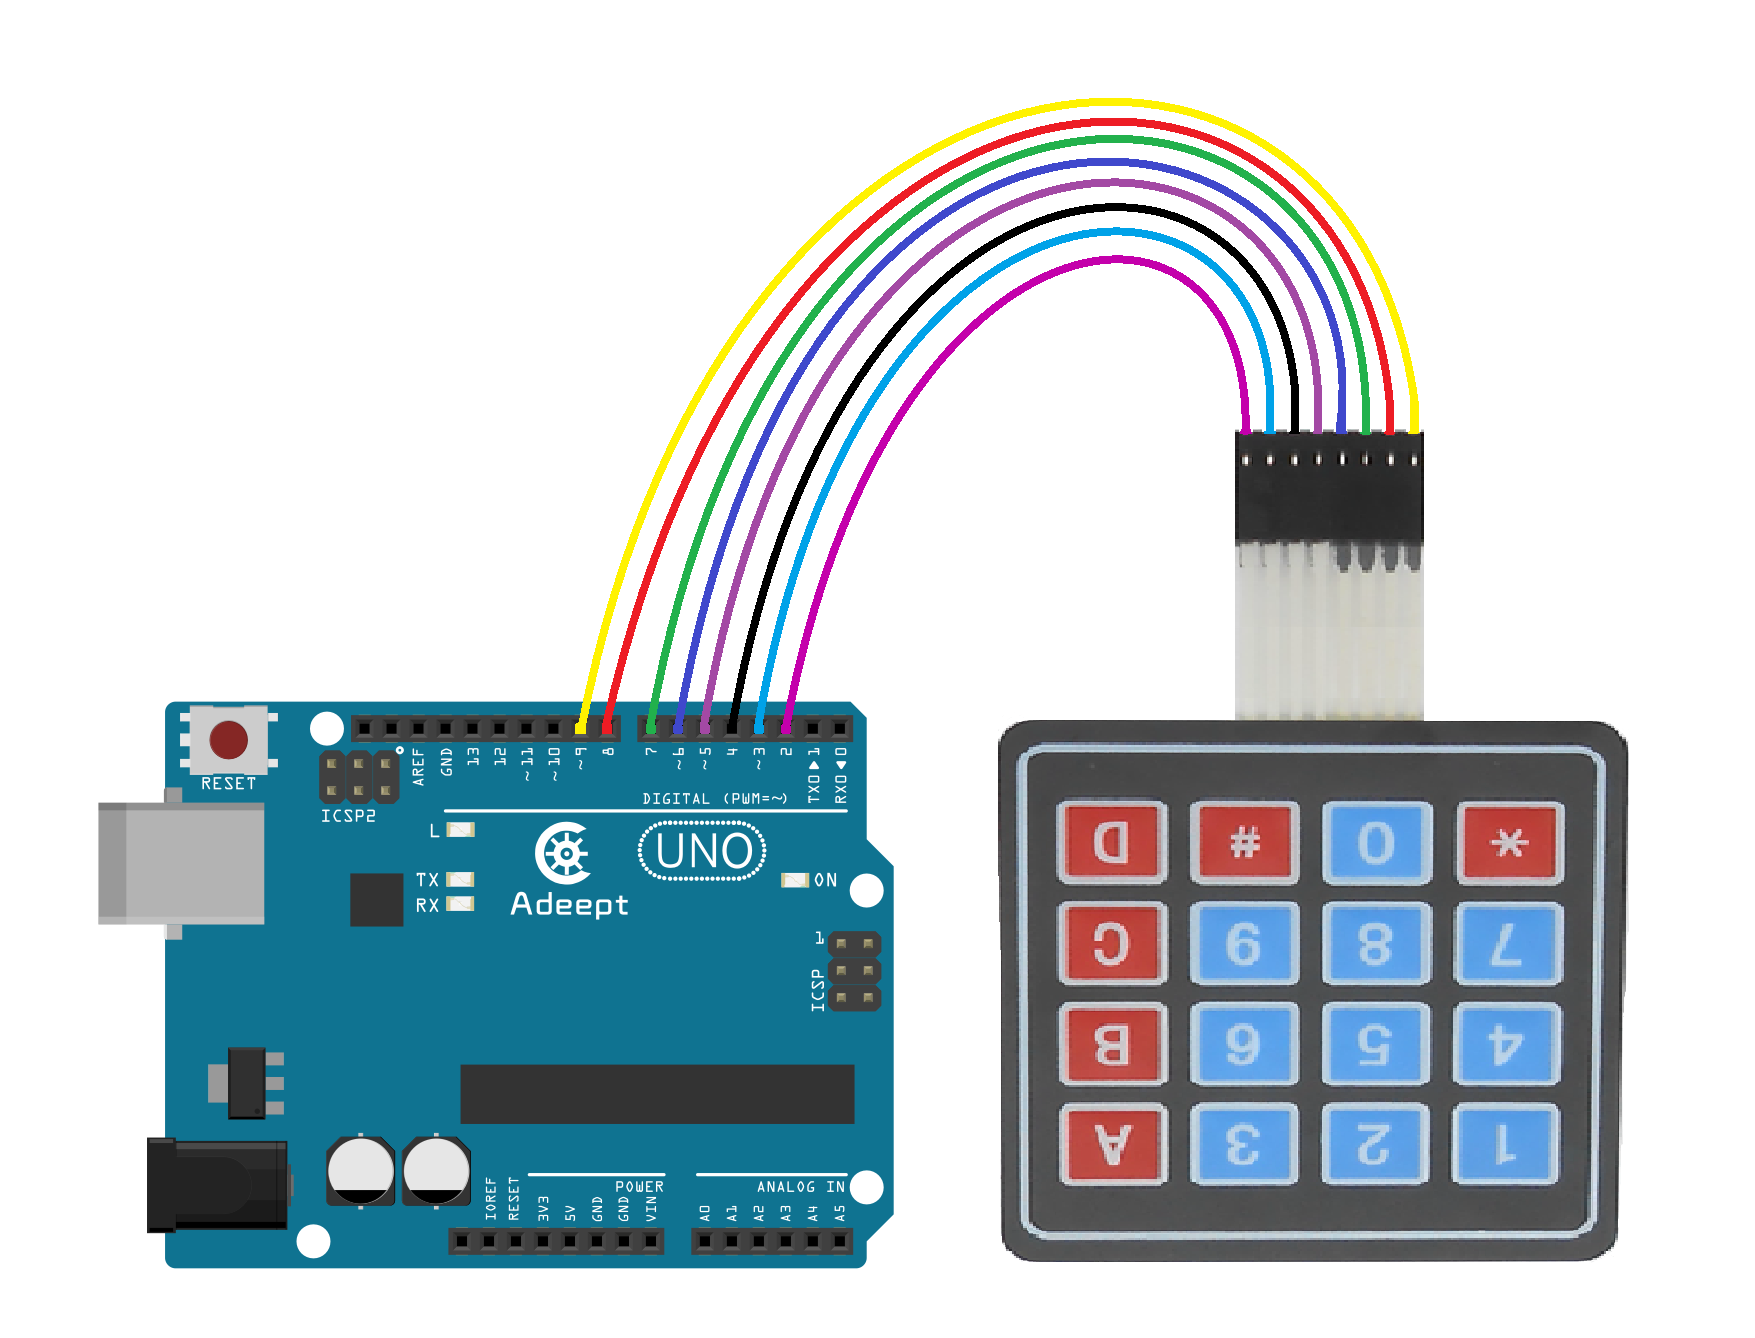
Step 1: Build the circuit
Step 2: Program
/***********************************************************
File name: 21_4x4MatrixKeyboard.ino
Description: when you click the button on the 4x4 matrix
keyboard, you can see the serial monitor data.
Website: www.adeept.com
E-mail: support@adeept.com
Author: Tom
Date: 2015/05/02
***********************************************************/
#include <Keypad.h>
const byte ROWS = 4; //four rows
const byte COLS = 4; //four columns
//define the cymbols on the buttons of the keypads
char hexaKeys[ROWS][COLS] = {
{'1','2','3','A'},
{'4','5','6','B'},
{'7','8','9','C'},
{'*','0','#','D'}
};
byte rowPins[ROWS] = {9, 8, 7, 6}; //connect to the row pinouts of the keypad
byte colPins[COLS] = {5, 4, 3, 2}; //connect to the column pinouts of the keypad
//initialize an instance of class NewKeypad
Keypad customKeypad = Keypad( makeKeymap(hexaKeys), rowPins, colPins, ROWS, COLS);
void setup(){
Serial.begin(9600);//Open serial
}
void loop(){
char customKey = customKeypad.getKey();//Read Key data
if (customKey){
Serial.println(customKey); //send the key data by serial port (UART)
}
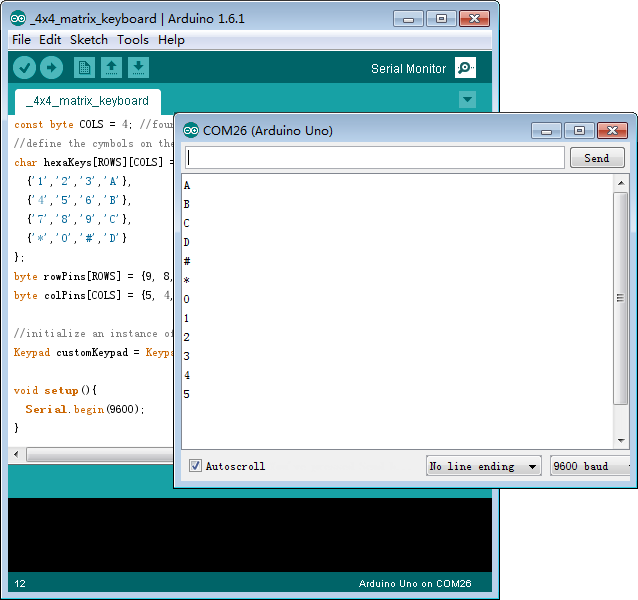
}Step 3: Compile the program and upload to Arduino UNO board
Now, press a button on the 4x4 matrix keyboard, and you will see the corresponding key value displayed on Serial Monitor.